
原生 JS 开发 Chrome 插件
从本期开始,我们就进入新的一章,实战篇,本期先从原生 JS 开发开始
一、开发 Chrome 插件
1. 新建项目并创建 manifest.json 文件
1.1. 添加以下代码
{
"manifest_version": 3,
"name": "My Chrome Extension",
"version": "0.0.1",
"description": "My Chrome Extension Description"
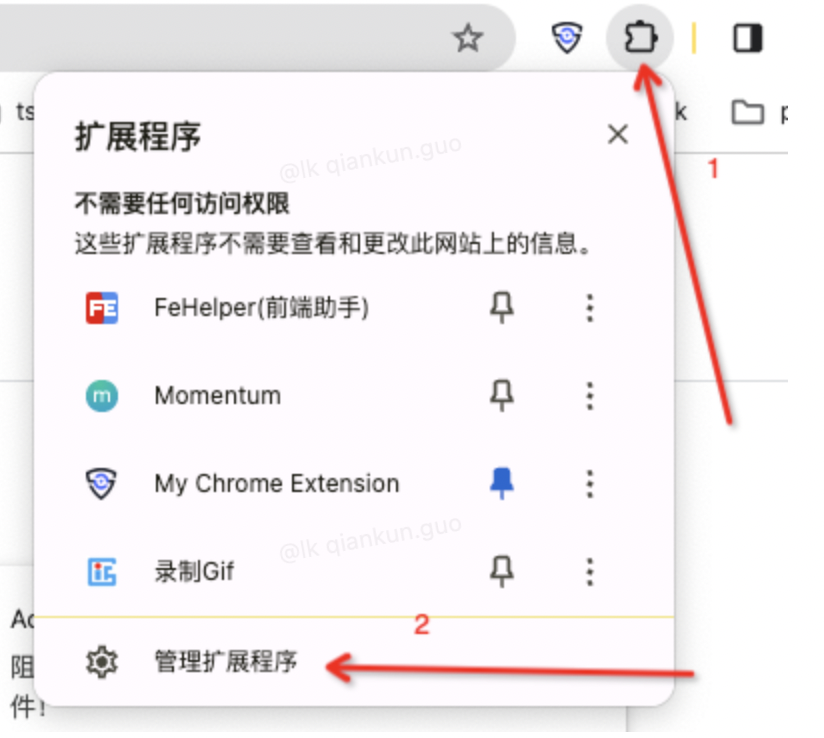
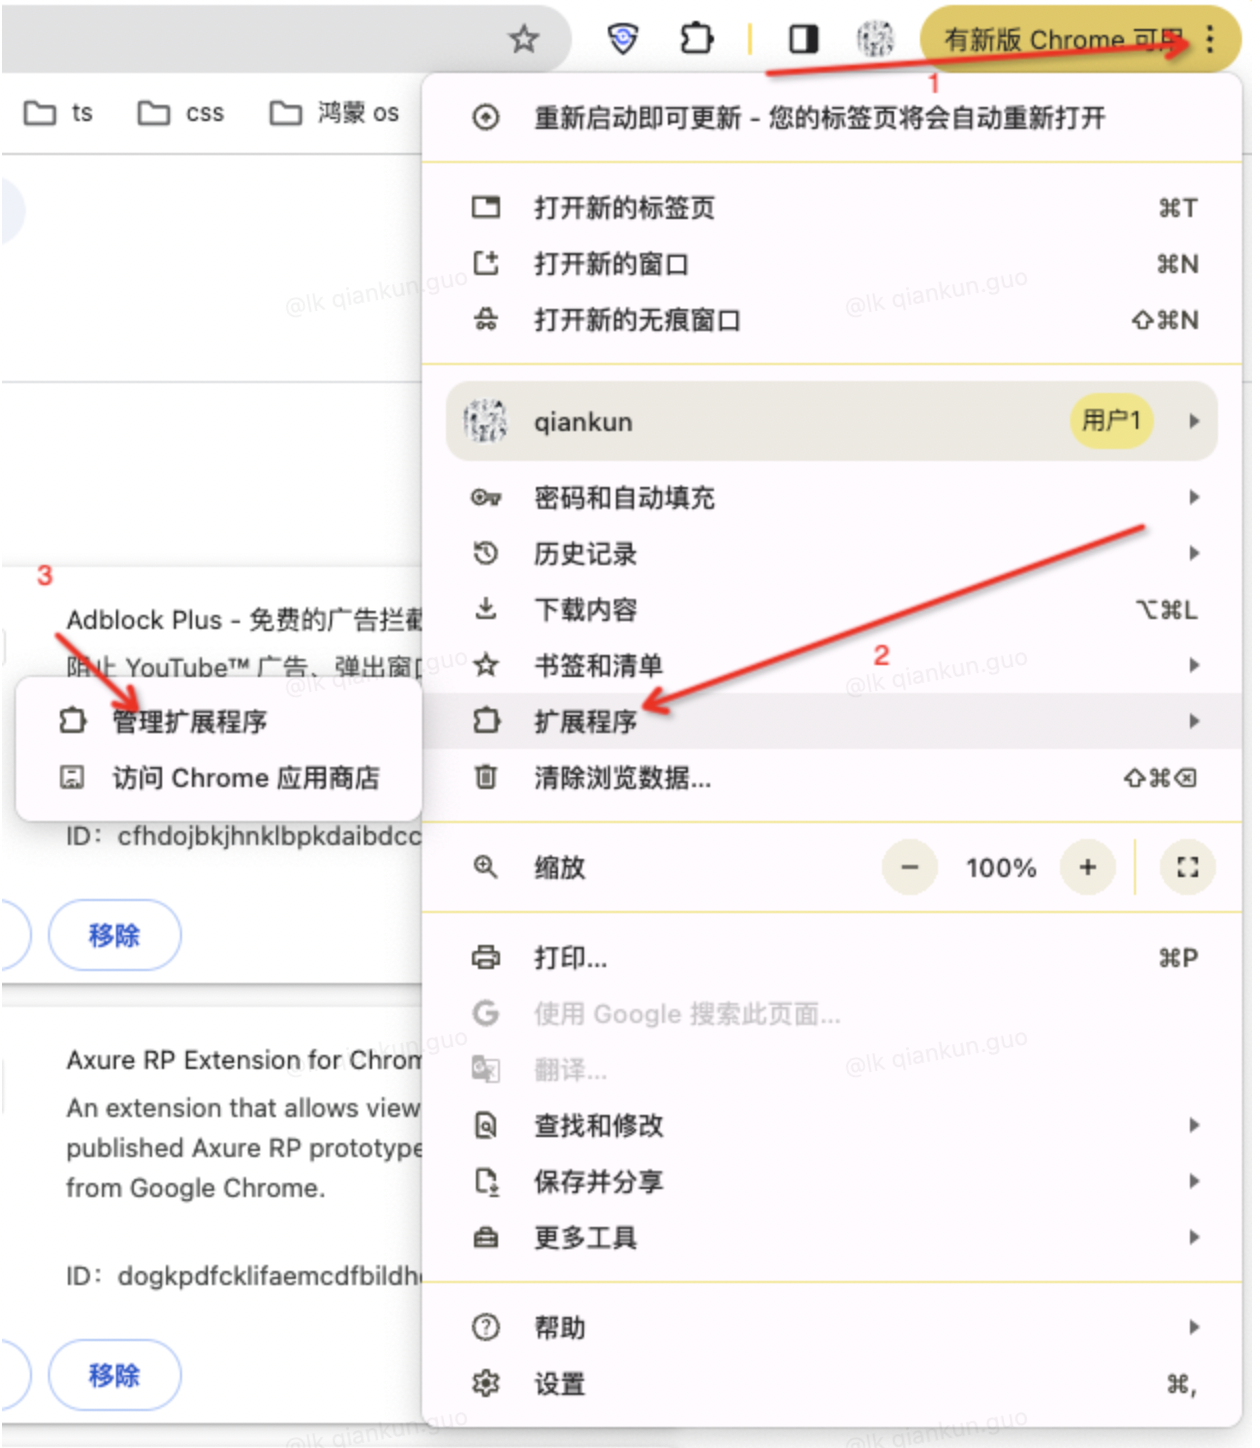
}1.2. 在谷歌浏览器中打开管理插件
第一种方式
第二种方式
第三种方式 浏览器输入:chrome://extensions/
1.3. 点击【加载已解压的扩展程序】
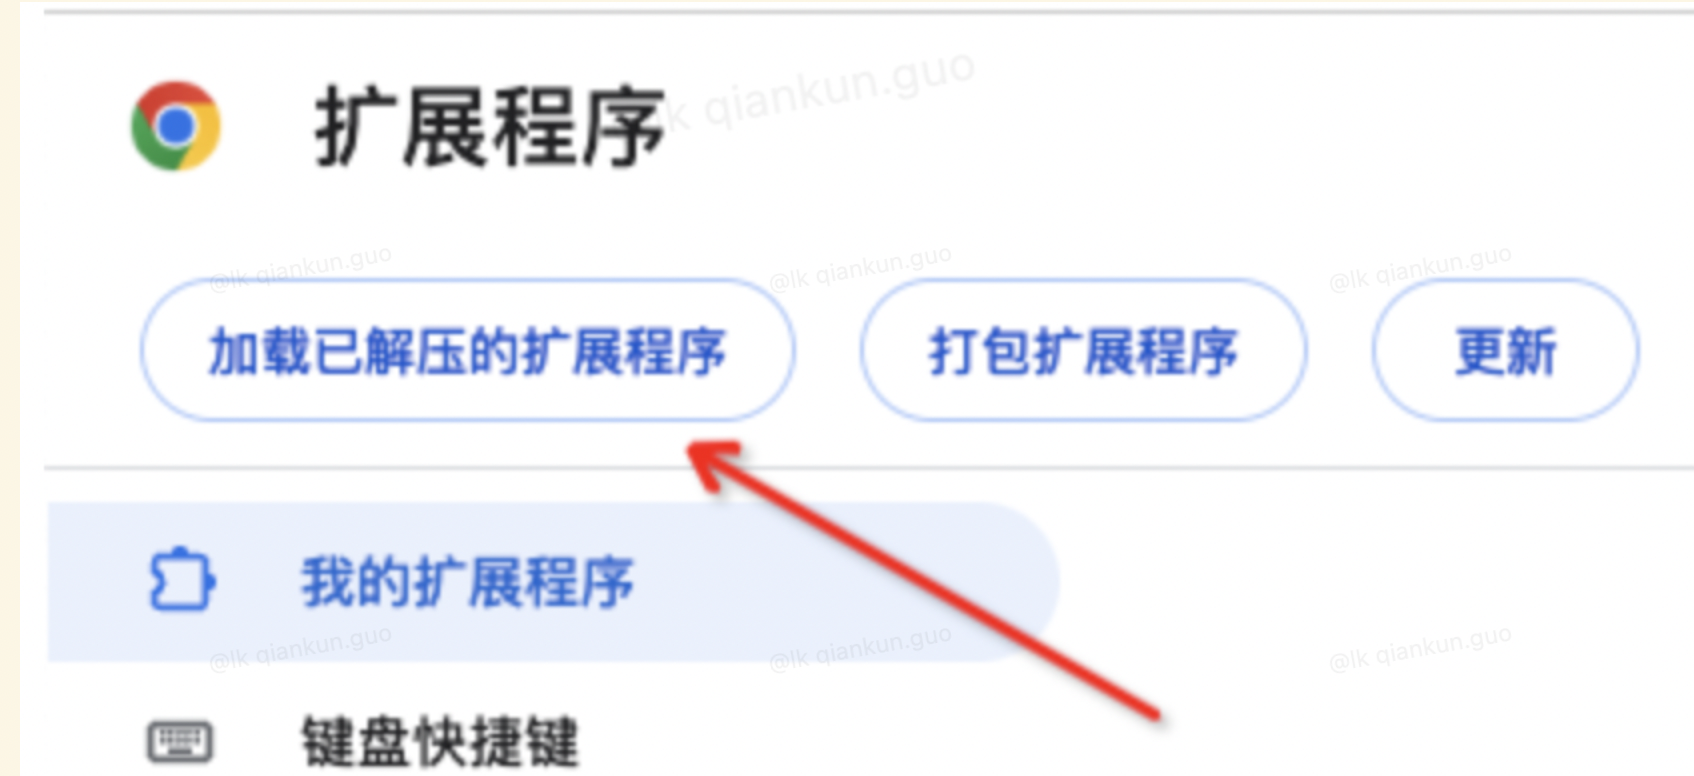
选择刚刚创建的文件夹即可

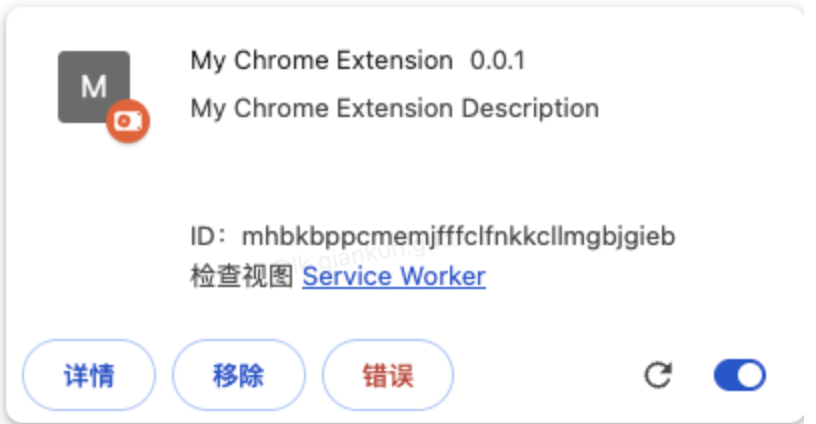
1.4. 可以看到插件已经加载完成
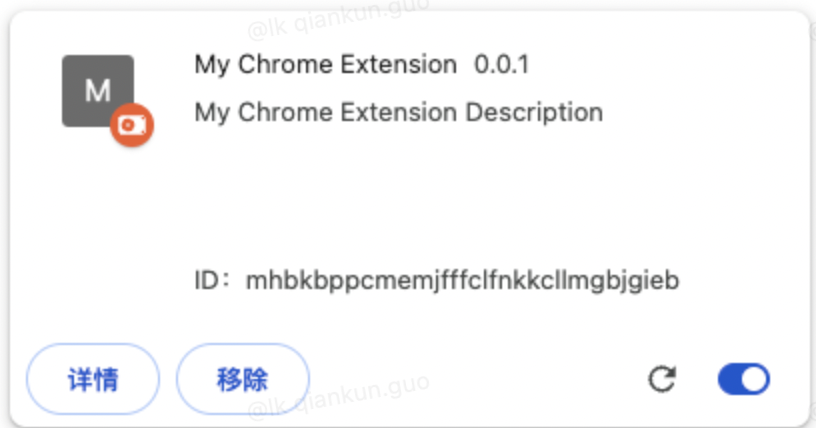
包含名称、版本、描述、默认图标
1.5. 固定插件
- 点击固定按钮,即可把插件固定在工具栏中
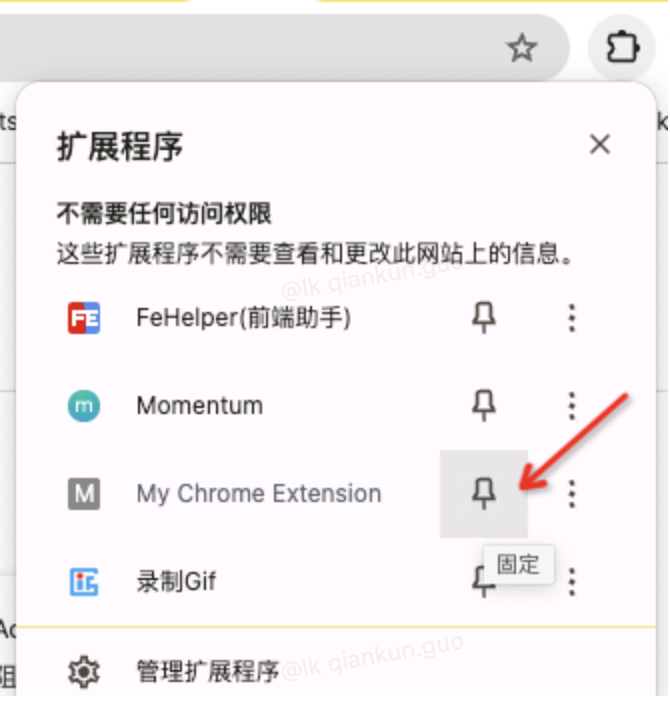
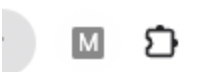
- 固定之后的样式
到了这一步,一个最最基础的插件已经完成了
2. 添加 action 中的 popup html 页面
以谷歌翻译模版为例

2.1. 添加 action icons
创建 icons 文件夹,并添加图片
.
├── icons
│   └── icon.png
├── manifest.json2.2. 新建 popup 文件夹并创建 index.html 页面
2.2.1. 同时创建 index.css 和 index.js 文件
目前的目录结构
.
├── icons
│   └── icon.png
├── manifest.json
└── popup
    ├── index.css
    ├── index.html
└── index.js2.2.2. 填充 popup 代码
- index.html
<!DOCTYPE html>
<html lang="en">
<head>
  <meta charset="UTF-8">
  <meta name="viewport" content="width=device-width, initial-scale=1.0">
  <title>Document</title>
  <link rel="stylesheet" href="./index.css">
</head>
<body>
  <div class="plugin_search">
      <div class="plugin_search_bar">
          <input id="plugin_search_inp" />
          <input id="plugin_search_but" type="button" value="翻译" />
      </div>
      <div class="plugin_span">
          <span>翻译此页面</span>
      </div>
  </div>

  <div class="plugin_footer">
      <span>© 2015 Google -</span>
      <a target="_blank" href="https://google.com/">扩展程序选项</a>
      <a target="_blank" href="https://translate.google.com/?source=gtx">Google 翻译</a>
  </div>
</body>
<script src="./index.js"></script>
</html>- index.css
*{
  padding: 0;
  margin: 0;
  list-style: none;
  text-decoration: none;
}
.plugin_search{
  margin: 15px 30px 15px 30px;
}
.plugin_search_bar{
  margin: 8px 0 16px 0;
}
#plugin_search_inp{
  font-size: 14px;
  margin: 2px;
  height: 23px;
  width: 70%;
}
#plugin_search_but{
  box-shadow: none;
  background-color: #4d90fe;
  background-image: -webkit-linear-gradient(top,#4d90fe,#4787ed);
  border: 1px solid #3079ed;
  color: #fff;
  border-radius: 2px;
  cursor: default;
  font-size: 11px;
  font-weight: bold;
  text-align: center;
  white-space: nowrap;
  margin-right: 16px;
  height: 27px;
  line-height: 27px;
  width: 54px;
  outline: 0px;
  padding: 0 8px;
  box-sizing: content-box;
}
.plugin_span{
  color: #4285f4;
}
.plugin_footer{
  background-color: #f0f0f0;
  color: #636363;
  font-family: 'Roboto',sans-serif;
  font-size: 11px;
  margin-top: 9px;
  padding: 10px;
  text-align: center;
  width: 400px;
}
.plugin_footer a{
  color: #4285f4;
}- index.js
const plugin_search_but = document.getElementById('plugin_search_but')
const plugin_search_inp = document.getElementById('plugin_search_inp')
plugin_search_but.onclick = function () {
    alert('plugin_search_inp的值为:' + plugin_search_inp.value.trim())
}2.3. Manifest.json 文件添加 action 字段
2.3.1. Manifest.json 文件内容
{
  "manifest_version": 3,
  "name": "My Chrome Extension",
  "version": "0.0.1",
  "description": "My Chrome Extension Description",
  "action": {
    "default_icon": "icons/icon.png",
    "default_title": "Popup Title",
    "default_popup": "popup/index.html"
  }
}2.3.2. 点击插件刷新按钮
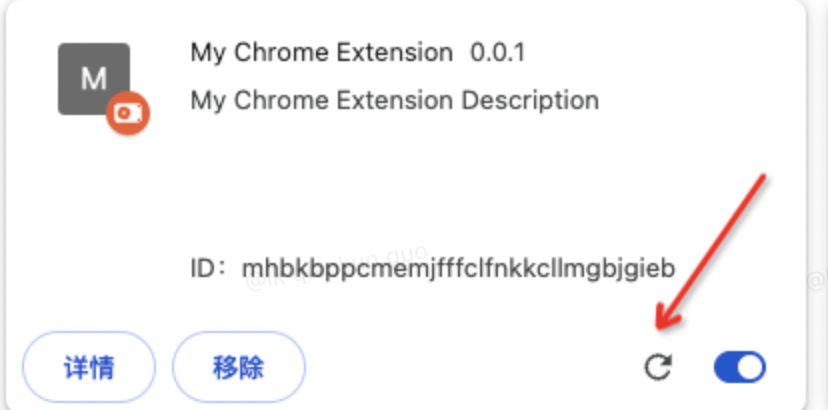
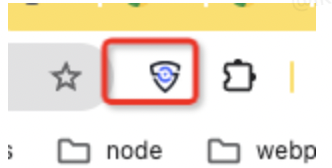
可以看到小图标已经展示出来了
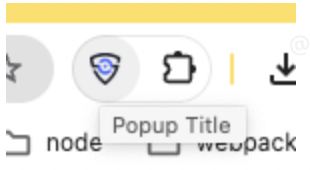
2.3.3. Hover 图标展示 default_title 字段
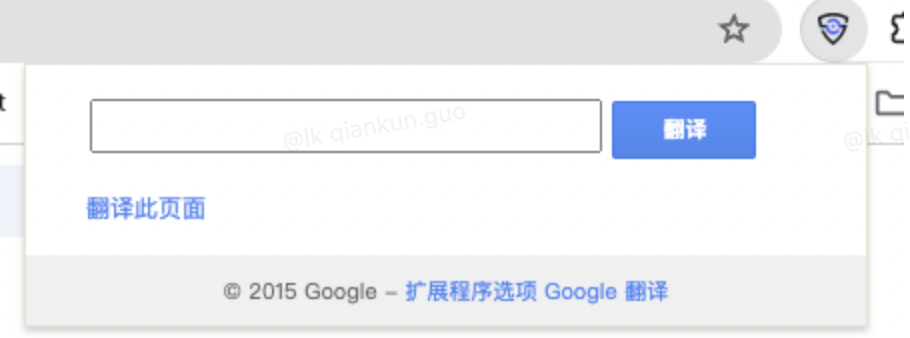
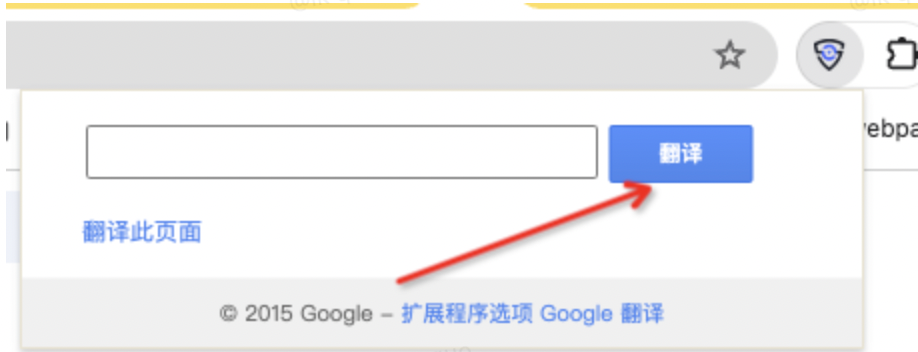
2.3.4. 点击图标
可以看到我们的 html 和 css 已经生效了
2.3.5. 输入框输入,并点击翻译按钮
根据我们 index.js 文件中的代码,我们可以在输入框中输入文案,并点击翻译按钮
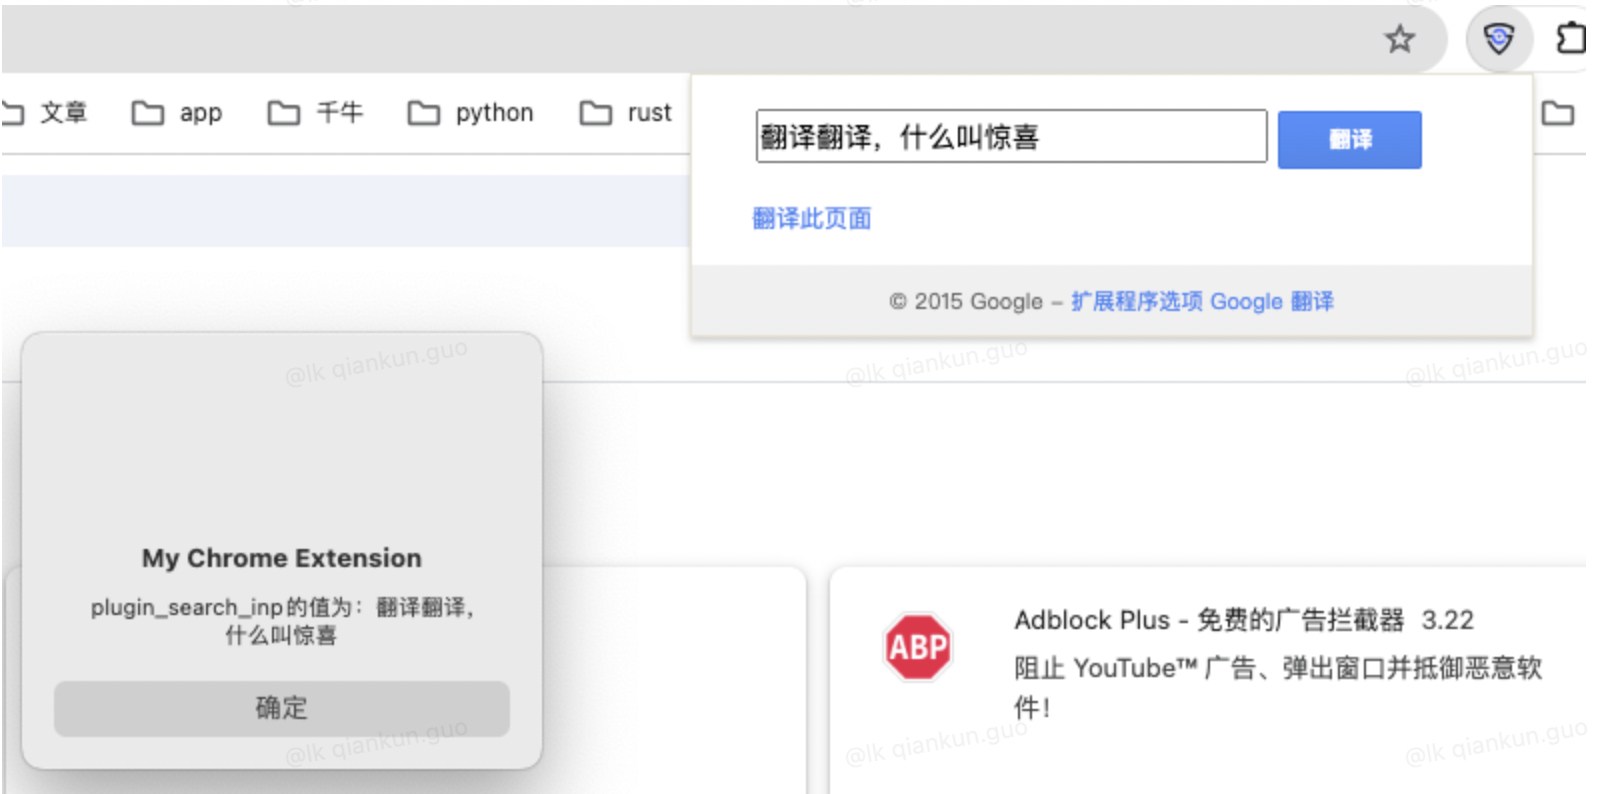
原来这就是惊喜
2.4. Action popup 控制台
点击图标,弹出 popup 页面,右键,会有【检查】选项,点击检查按钮
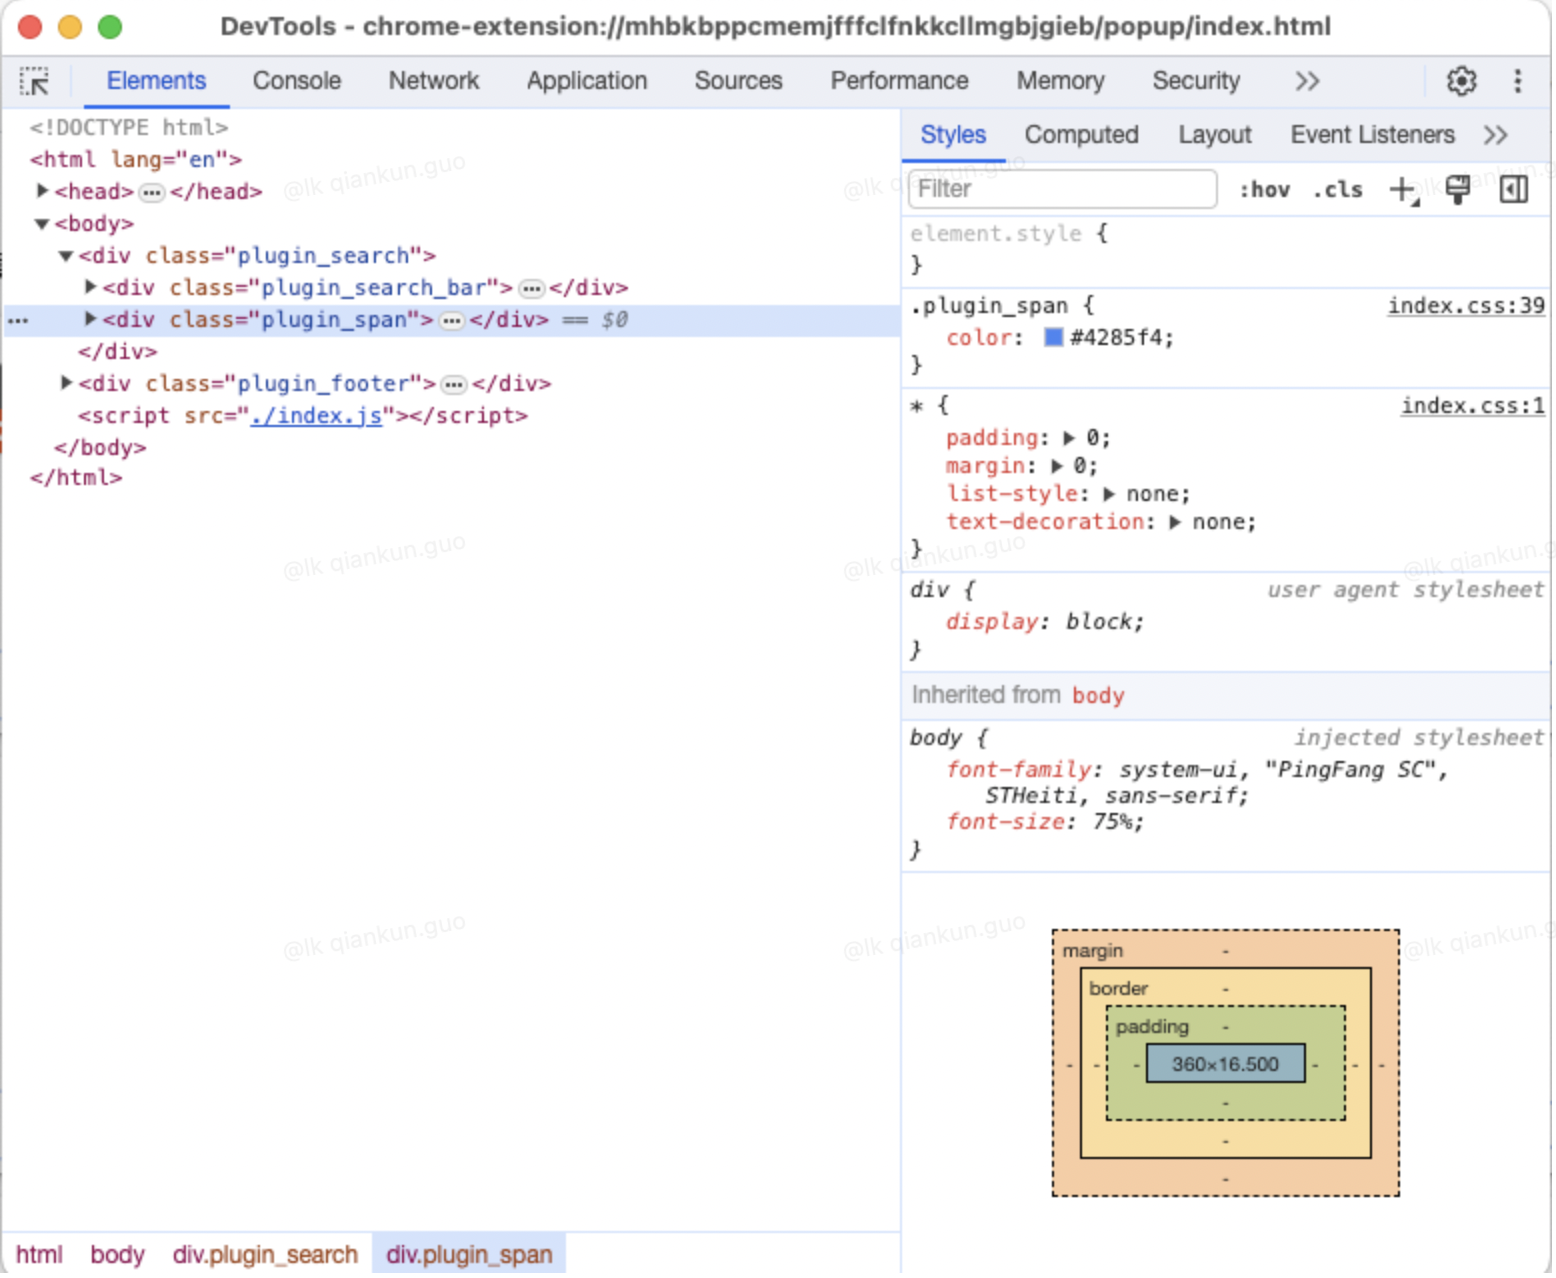
到了这一步,我们可以开发一个有点击动作的插件了
3. 添加 background
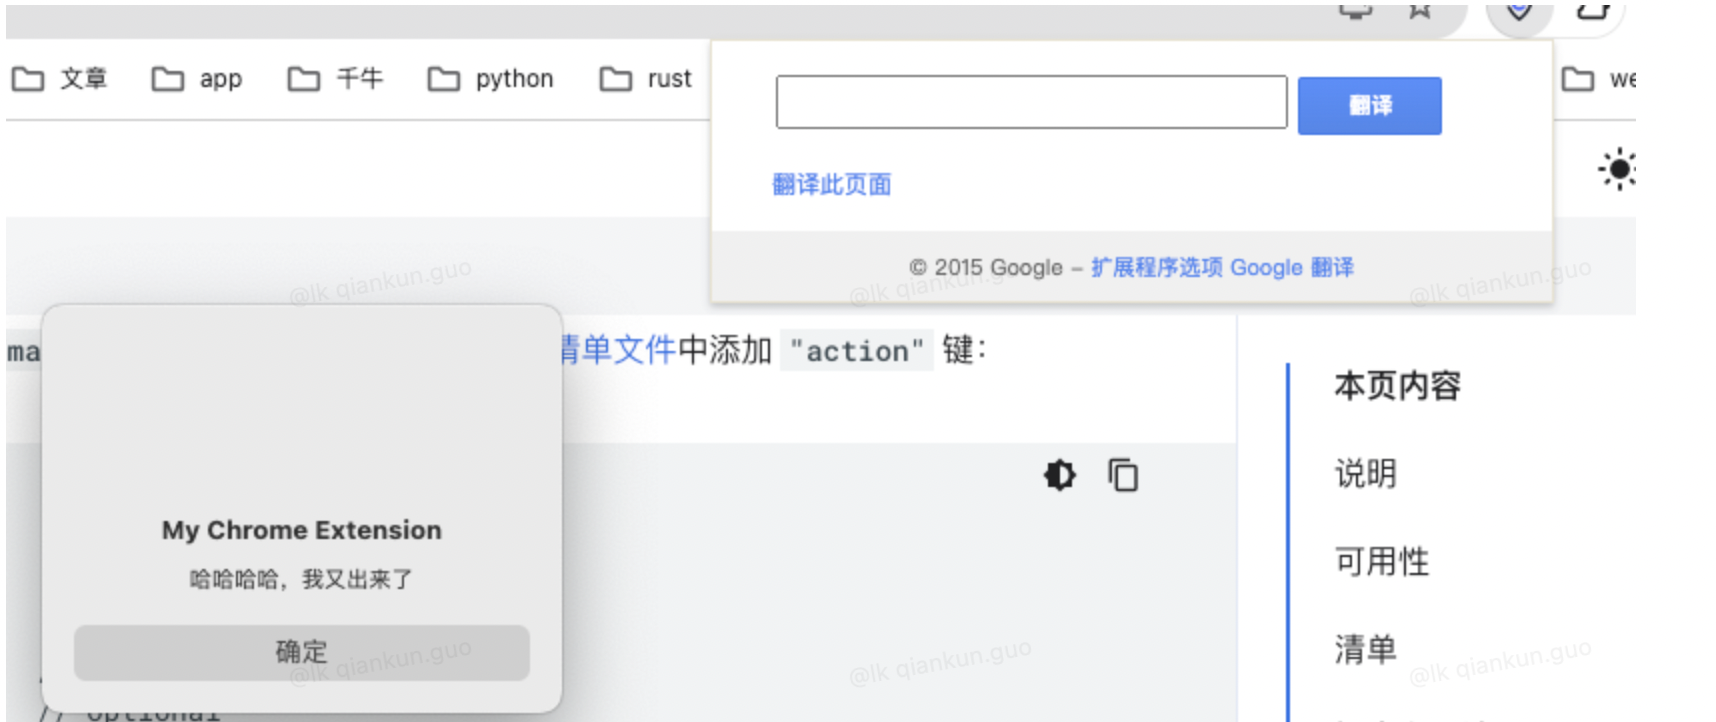
3.1. 如果我们在 index.js 中添加一个 setInterval,每隔几秒弹出一个 alert
setInterval(() => {
  alert('哈哈哈哈,我又出来了')
}, 3000)保存代码之后,刷新插件,点击插件图标弹出 popup 页面,就会定时弹出 alert 框了
但是,当我们点击页面某处,把插件 popup 页面隐藏的时候,就会发现 alert 弹框不会再弹出了,只有在此展现 popup 页面的时候才会重新执行 那如果我想的是不展现 popup 的时候,也执行 alert 弹框,那就需要 background 了
3.2. 新建 background 文件夹并创建 service_worker.js 文件
- 先把 popup index.js 中的 alert 删除
- 在 service_worker.js 中写入代码
setInterval(() => {
  alert('我是 background service worker 中弹出来的')
}, 3000)- 目录结构
.
├── background
│   └── service_worker.js
├── icons
│   └── icon.png
├── manifest.json
└── popup
    ├── index.css
├── index.html3.3. Manifest.json 文件中添加 background
3.3.1. 在上面 action 的基础上添加代码
"background": {
  "service_worker": "background/service_worker.js"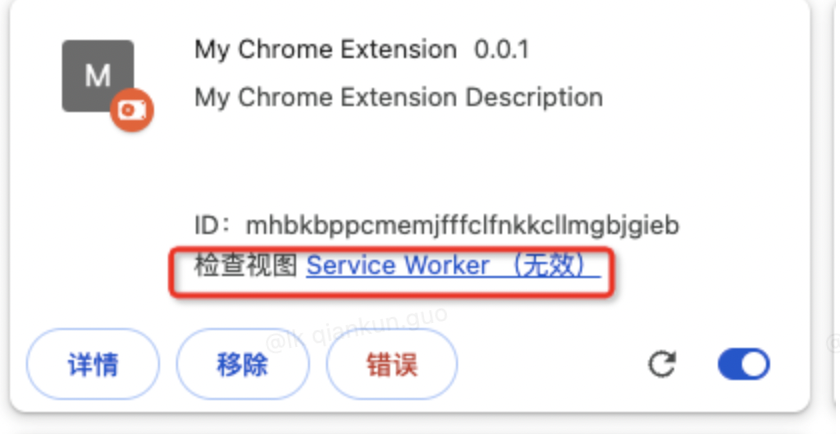
}3.3.2. 点击拓展程序刷新插件
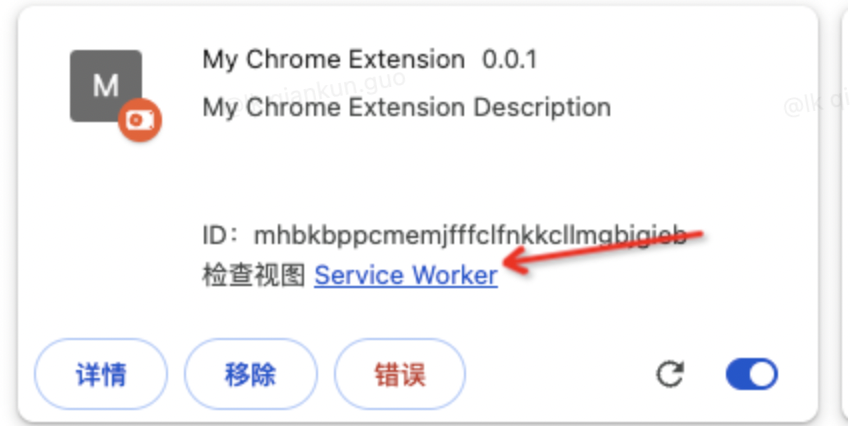
- 发现会有错误出现
- 我们先点击检查视图后面的 Service Worker 弹出控制台
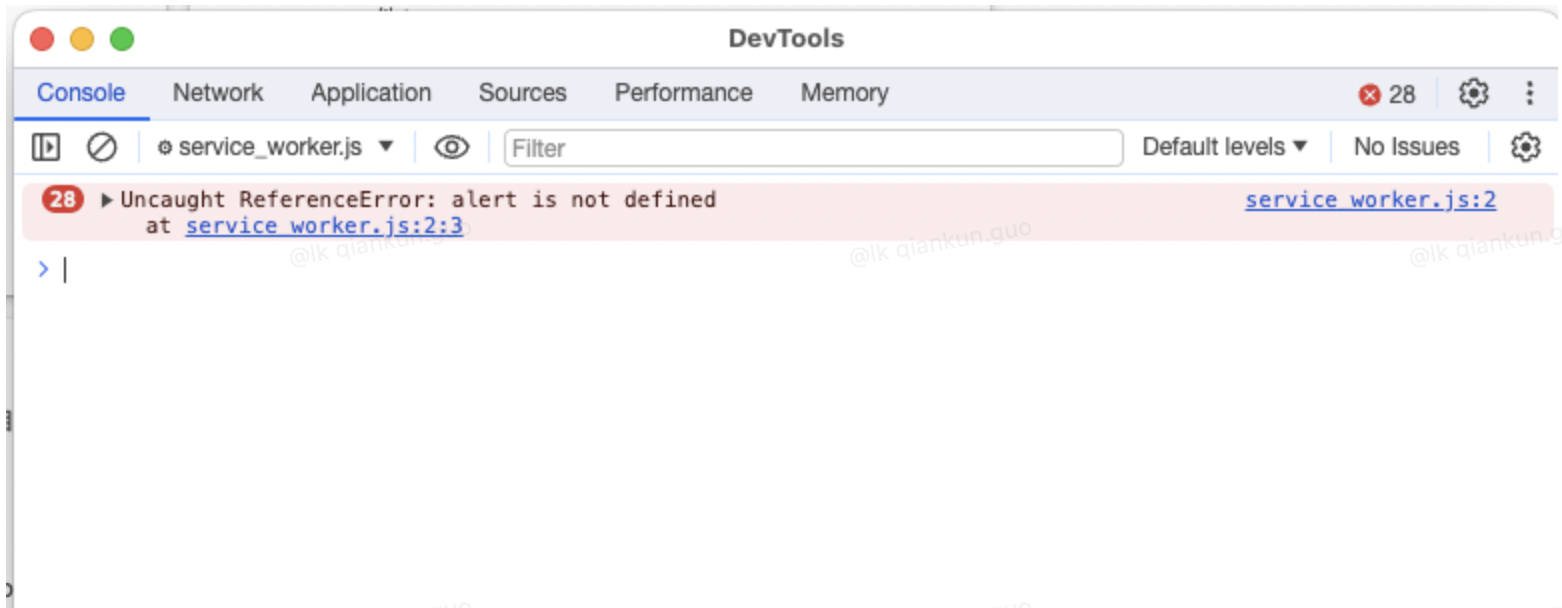
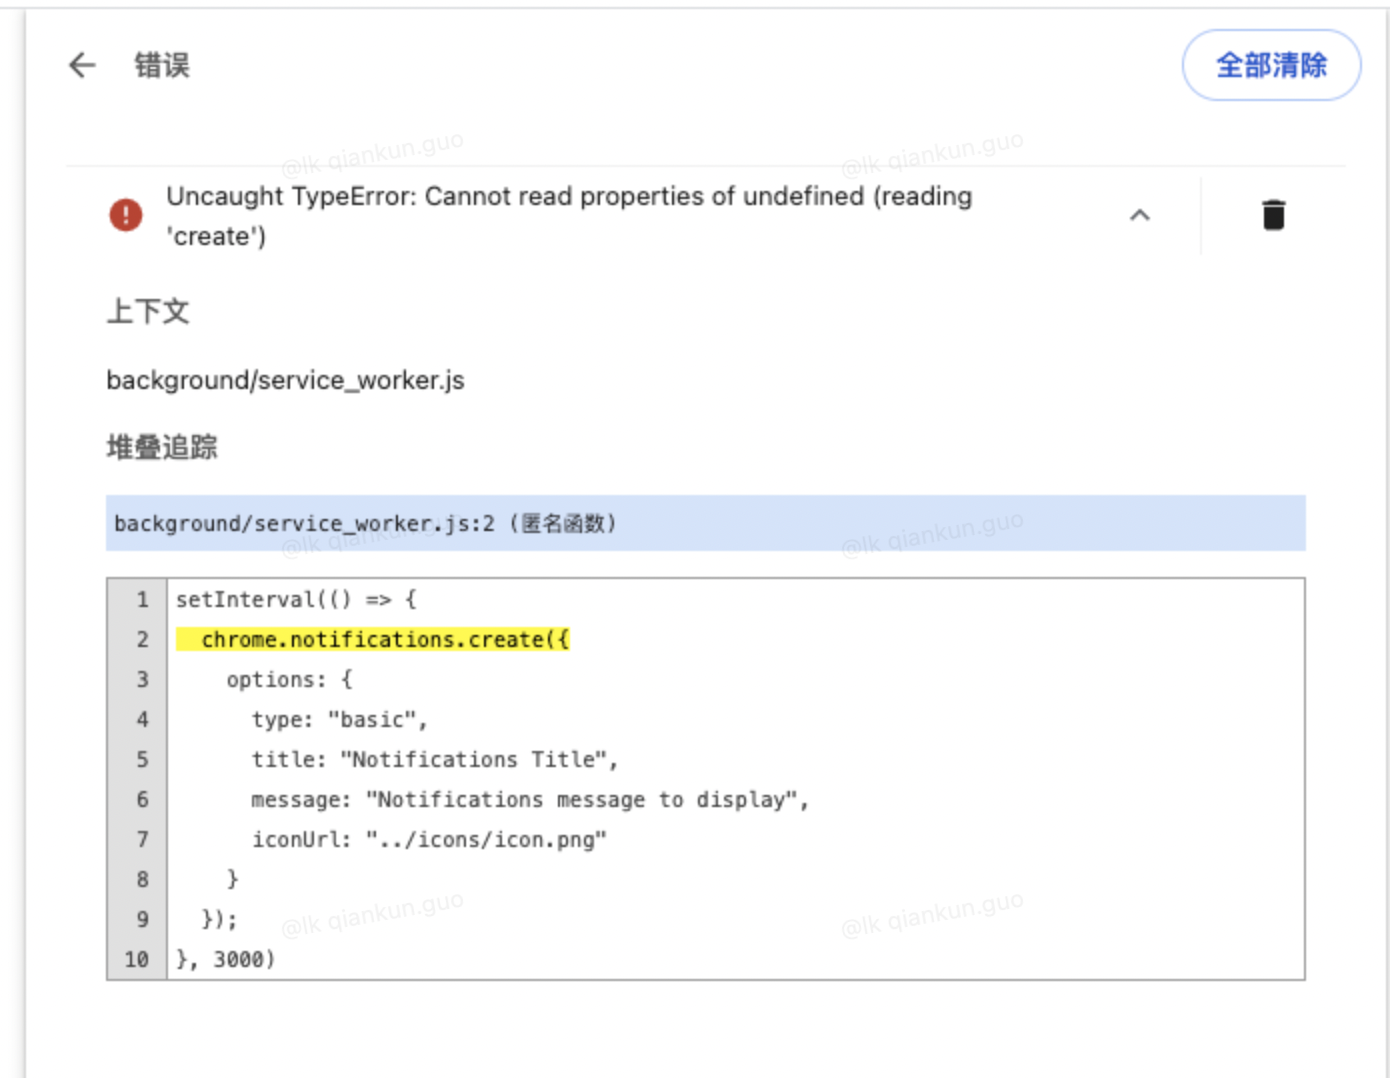
- 可以看出报错内容
这是因为 Service Workers 在插件中主要用于后台任务、推送通知等,而不是直接与用户交互。因此,alert 这类弹窗通常无法直接在 Service Worker 中使用。
- 我们点击【错误】按钮,你会发现,每隔三秒会刷新当前错误页面,是因为一直在执行 service_worker.js 中的代码

- 但是当 30s 之后,会发现不刷新了,这个时候我们点击返回,可以看到 service worker 已经被终止了
这个时候如果继续点击 service worker 则会继续触发当前程序
3.4. 既然不能用 alert,那我们就换个 notifications 用一用
借助 chrome.notifications API,可以通过模板创建内容丰富的通知,并在系统任务栏中向用户显示这些通知。
3.4.1. 修改 service worker 中的代码
setInterval(() => {
  chrome.notifications.create(
    {
      type: "basic",
      title: "Notifications Title",
      message: "Notifications message to display",
      iconUrl: "../icons/icon.png"
    },
    (notificationId) => {
      console.log('notificationId-->', notificationId)
    }
  );
}, 3000)3.4.2.刷新插件
会发现还是会报错 说是 notifications 未定义
这个时候就涉及到 manifest.json 中的另一个字段了,权限(permissions)字段,使用 Chrome.XXX 的 API 绝大多数的时候都需要在 permissions 字段中添加,permissions 是一个 string[]
3.4.3. manifest.json 文件中添加 permissions 字段
添加如下代码
"permissions": [
  "notifications"
]3.4.4. 刷新插件,并点开 service worker 控制台
可以看到控制台中已经有通知的回调返回值了

那通知呢?
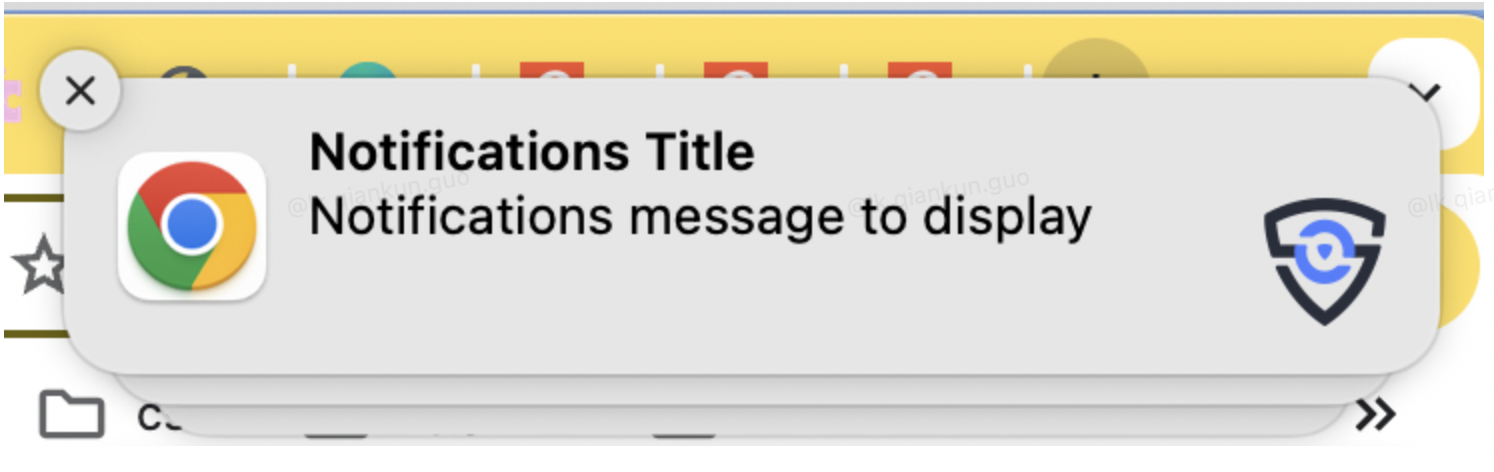
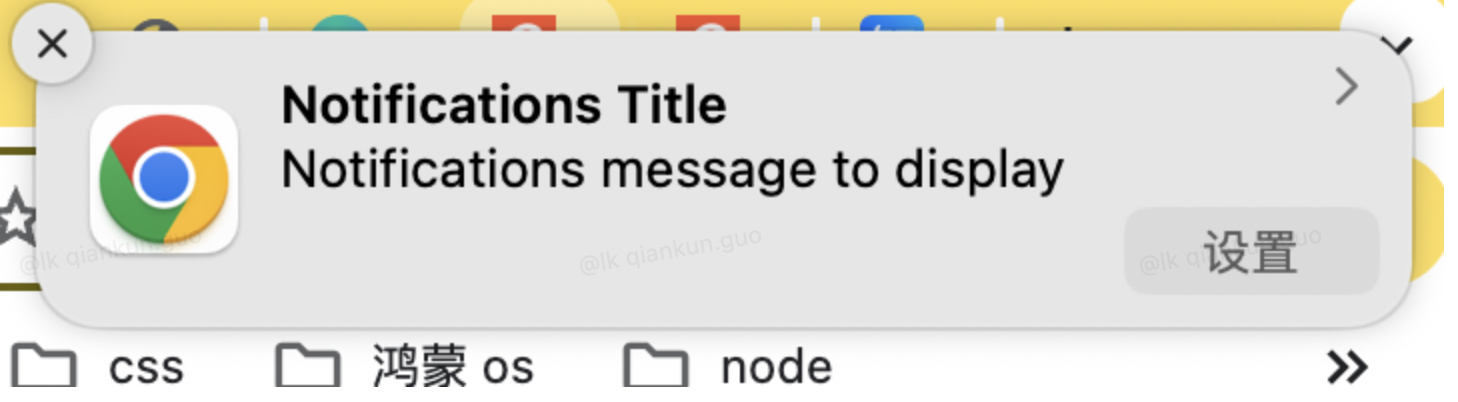
3.4.5. 平台差异
平台差异:对于 Mac OS X 用户,通知的显示方式有所不同。用户看到的不是 Chrome 自己的通知,而是原生 Mac OS X 通知。
点开通知中心,即可看到通知
3.5. 如果有多个 JS 需要引入怎么办?
如果还需要引入 module_1.js 和 module_2.js
3.5.1. manifest.json 中 background 字段添加 type 为 module
"background": {
  "service_worker": "background/service_worker.js",
  "type": "module"
},3.5.2. 在 service_worker.js 中 import 引入
import './module_1.js'
import './module_2.js'3.5.3. 刷新插件,打开 Service worker 控制台
每个 js 里面只是输出了一句话

到这一步,我们已经可以操作后台了
4. Action(popup) 和 background(service worker) 之间的通信
点击翻译的时候,发一条信息
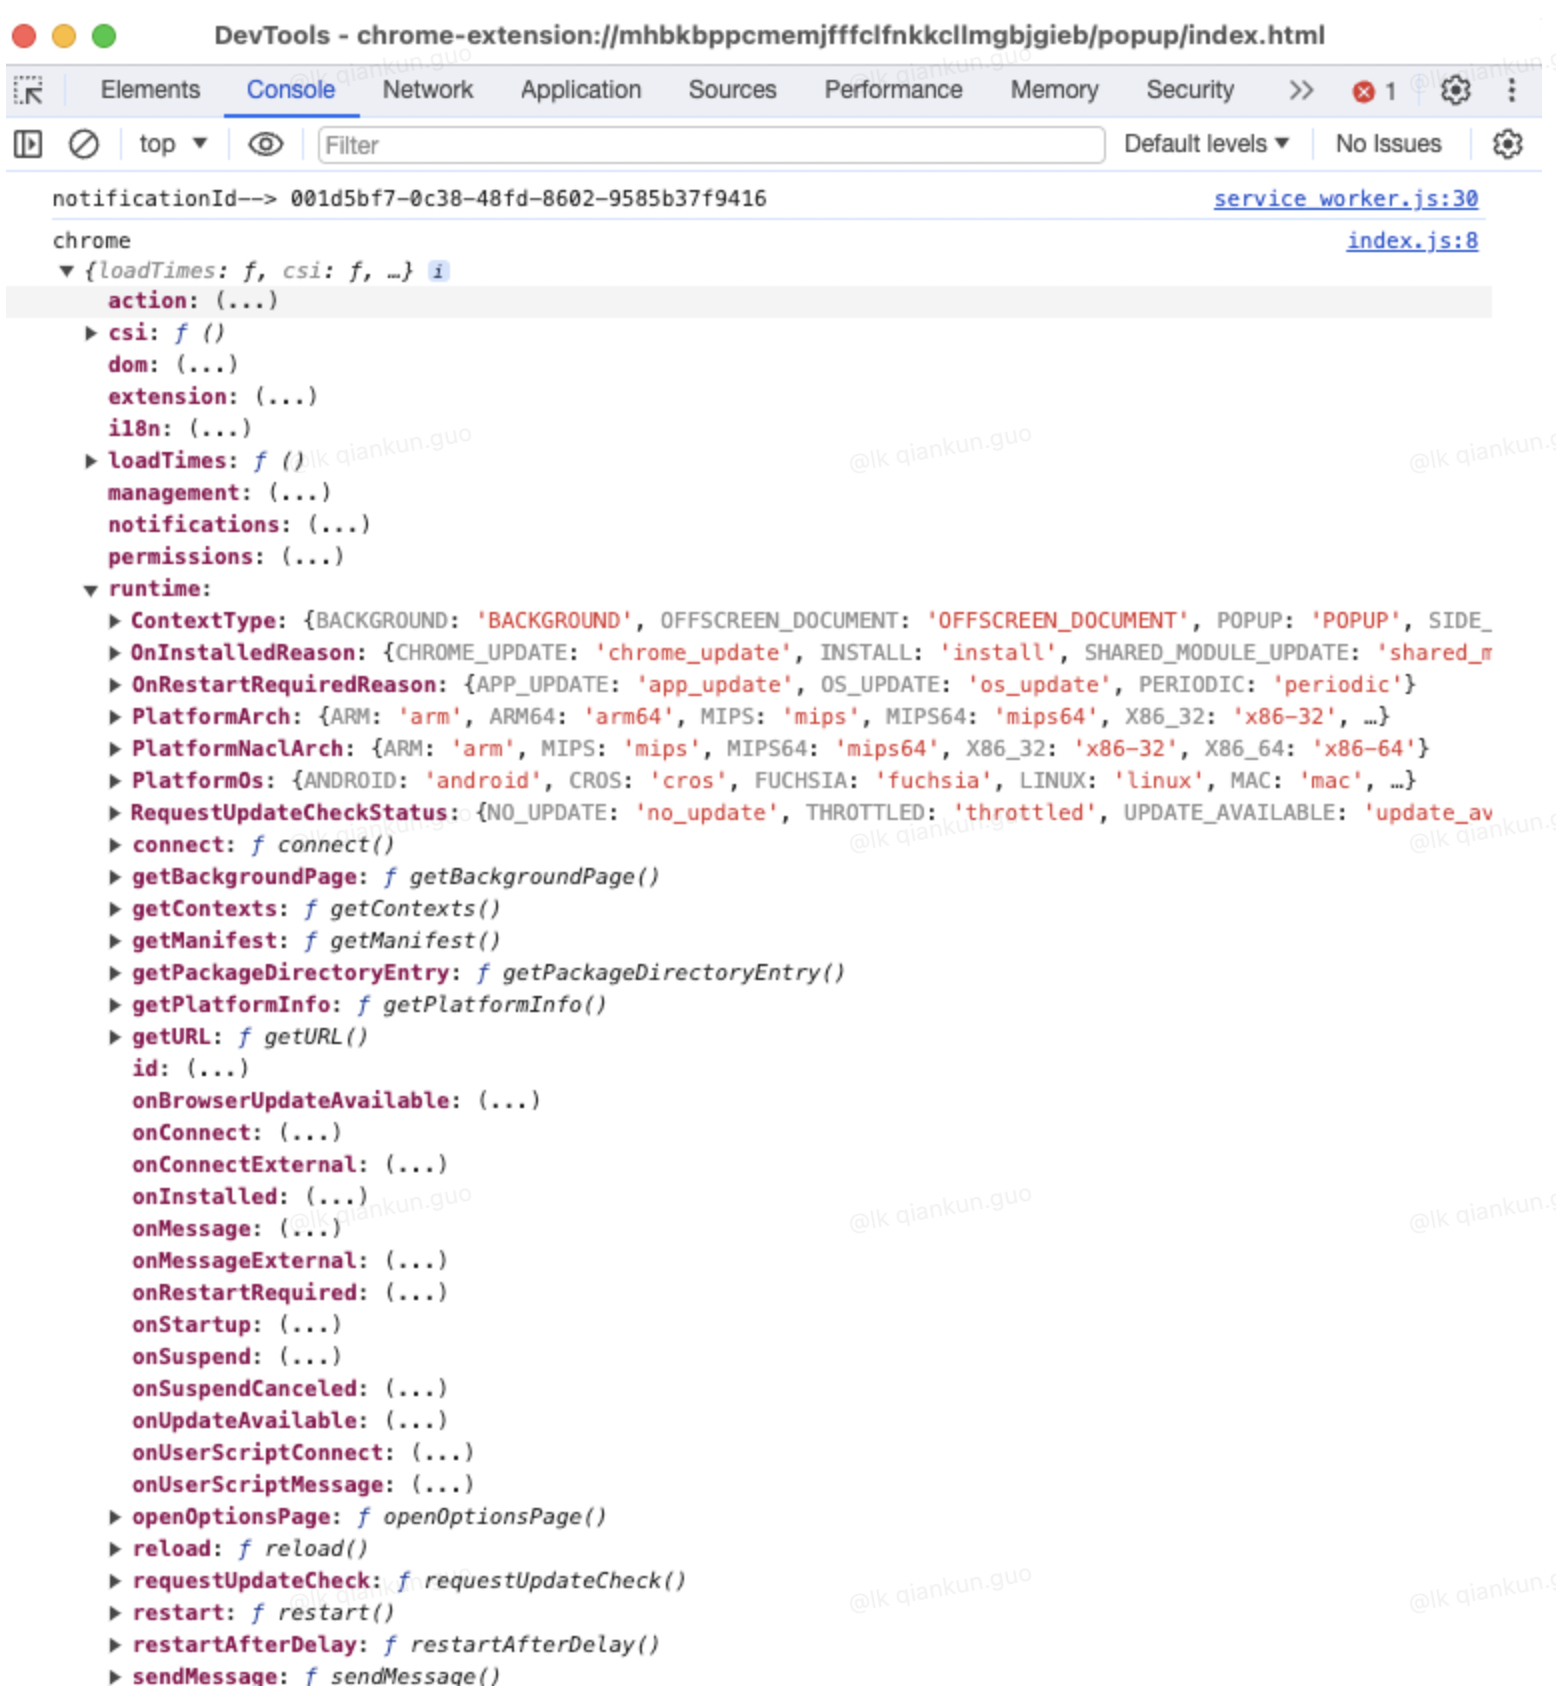
4.1. 先打印下 popup.js 中的 Chrome 数据
plugin_search_but.onclick = function () {
  // alert('plugin_search_inp的值为:' + plugin_search_inp.value.trim())
  console.log('chrome', chrome)
}
4.2. 先把 popup.js 中的点击事件修改下
改成点击之后向 Service Worker 发送消息
plugin_search_but.onclick = function () {
  // alert('plugin_search_inp的值为:' + plugin_search_inp.value.trim())
  console.log('chrome', chrome)
  // 向 Service Worker 发送消息
  chrome.runtime.sendMessage({
    action: 'fromPopup',
    message: 'Hello from Popup!'
  });
}4.3. 只需要在 service_worker.js 中接收消息即可
把之前的代码注释/删除即可
chrome.runtime.onMessage.addListener(async (message, sender, sendResponse) => {
  if (message.action === 'fromPopup') {
    chrome.notifications.create(
      {
        type: "basic",
        title: "Notifications Title",
        message: "Notifications message to display",
        iconUrl: "../icons/icon.png"
      },
      (notificationId) => {
        console.log('notificationId-->', notificationId)
      }
    );
  }
});4.4. 刷新插件
点击图标,弹出 popup 页面,点击翻译按钮,点击消息中心

5. 内容脚本(Content Script)注入
如果需要在某个页面中注入脚本进去,那就用到了 content_scripts 更新 content script 之后需要刷新对应的页面
5.1. 新建 content 文件夹,并创建 index.js 文件
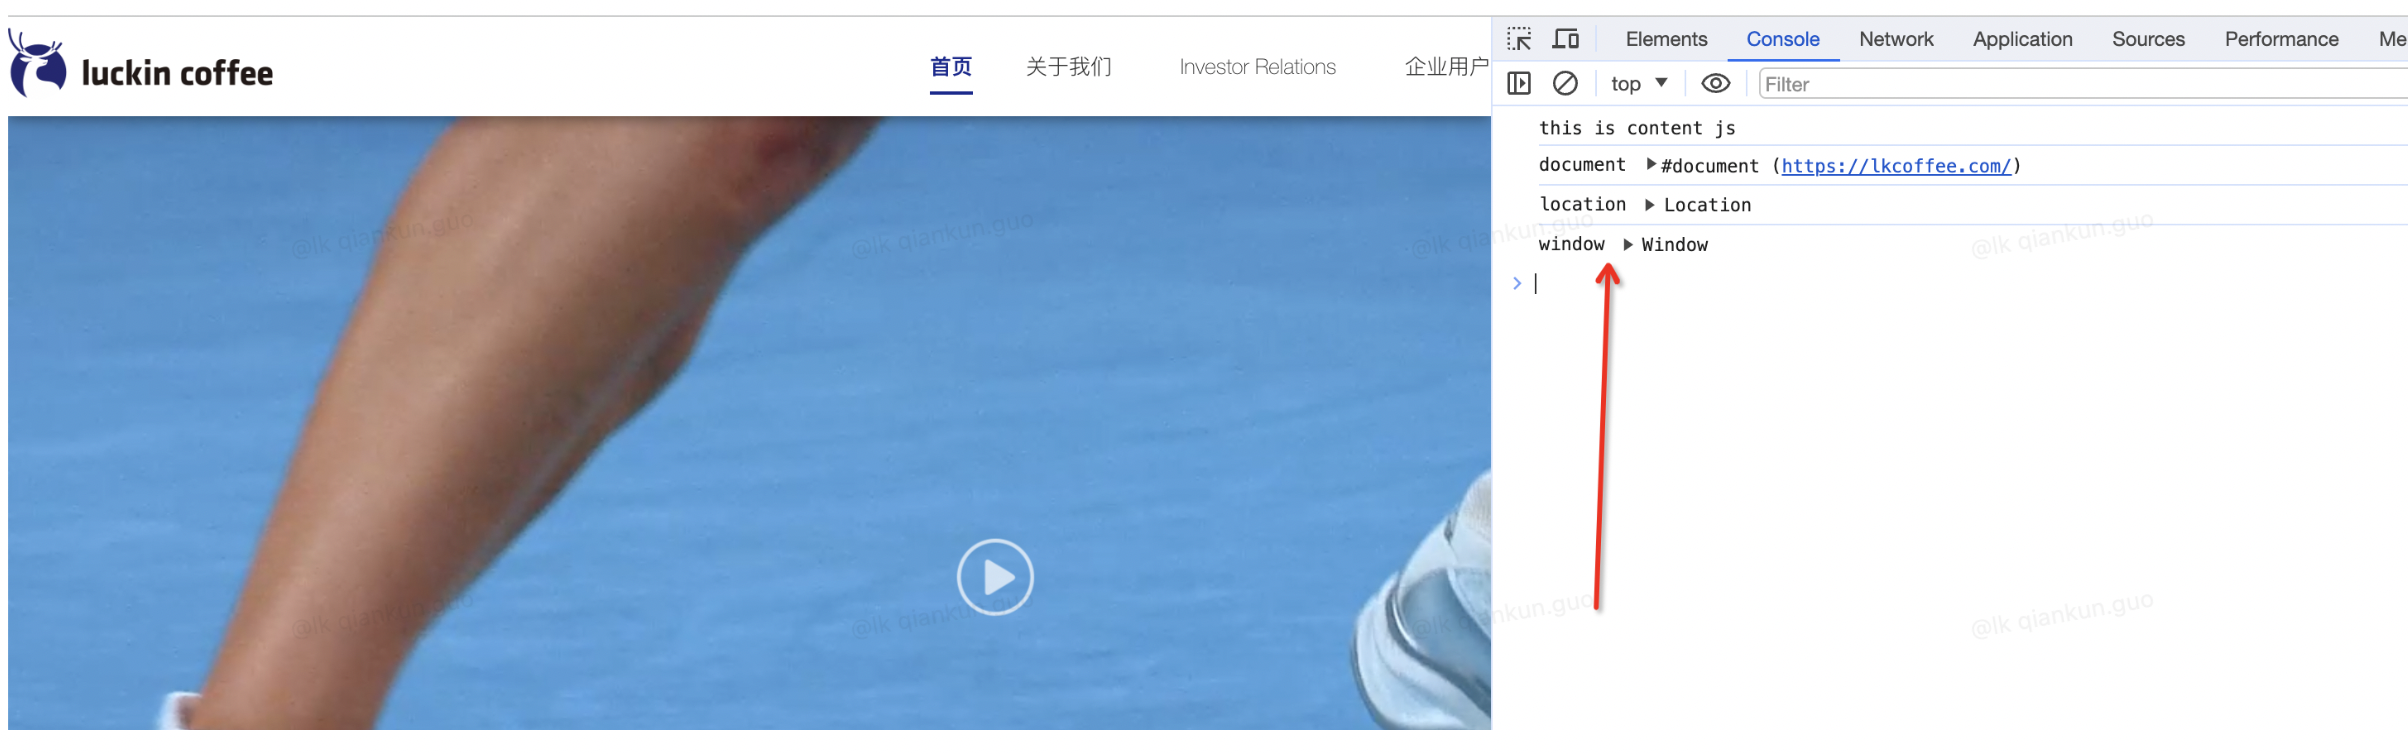
- 写入代码
console.log('this is content js')
console.log('document', document)
console.log('location', location)
console.log('window', window)- 目录结构
.
├── background
│   ├── module_1.js
│   ├── module_2.js
│   └── service_worker.js
├── content
│   └── index.js
├── icons
│   └── icon.png
├── manifest.json
└── popup
    ├── index.css
    ├── index.html
└── index.js5.2. 在 manifest.json 文件中添加 content_scripts
"content_scripts": [
  {
    "matches": ["https://lkcoffee.com/"],
    "js": ["content/index.js"]
  }
]可以看出我们引入了 js 文件和匹配了域名
5.3. 打开 https://lkcoffee.com/ 并打开控制台
5.4. 在当前页面中插入面板框,并可拖拽
使用 jquery
- 在 content 中创建 index.css 和 jquery.js(可在 CDN 上下载)
- 在 index.css 上写入面板样式
- 在 index.js 上创建 dom 和监听鼠标事件
- 在 manifest.json 中引入
manifest.json 文件
"content_scripts": [
  {
    "matches": ["https://lkcoffee.com/"],
    "css": ["content/index.css"],
    "js": ["content/jquery.js", "content/index.js"]
  }
]JS/CSS 注入多个时,按照数组顺序注入,所以如果 JS/CSS 有多个的话,需要注意引用关系。 index.css 文件
#cj_move_page{
  width: 400px;
  user-select: none;
  background: white;
  border: 1px solid;
  height: 400px;
  position: fixed;
  right: 0;
  bottom: 0;
  z-index: 1000001;
}
#cj_move_h3{
  text-align: center;
  line-height: 40px;
  cursor: move;
}index.js 文件
console.log('this is content js')
console.log('document', document)
console.log('location', location)
console.log('window', window)

//创建页面函数
function createPage () {
  const page = $('<div id="cj_move_page"></div>')
  const h3 = $('<h3 id="cj_move_h3">My Chrome Ext Content Page</h3>')
  page.append(h3)
  $('body').append(page)
  //拖拽
  drag(cj_move_h3)
}
createPage()

//拖拽
function drag(ele) {
  let oldX, oldY, newX, newY
  ele.onmousedown = function (e) {
    if (!cj_move_page.style.right && !cj_move_page.style.bottom) {
      cj_move_page.style.right = 0
      cj_move_page.style.bottom = 0
    }
    oldX = e.clientX
    oldY = e.clientY
    document.onmousemove = function (e) {
      newX = e.clientX
      newY = e.clientY
      cj_move_page.style.right = parseInt(cj_move_page.style.right) - newX + oldX + 'px'
      cj_move_page.style.bottom = parseInt(cj_move_page.style.bottom) - newY + oldY + 'px'
      oldX = newX
      oldY = newY
    }
    document.onmouseup = function () {
      document.onmousemove = null
      document.onmouseup = null
    }
  }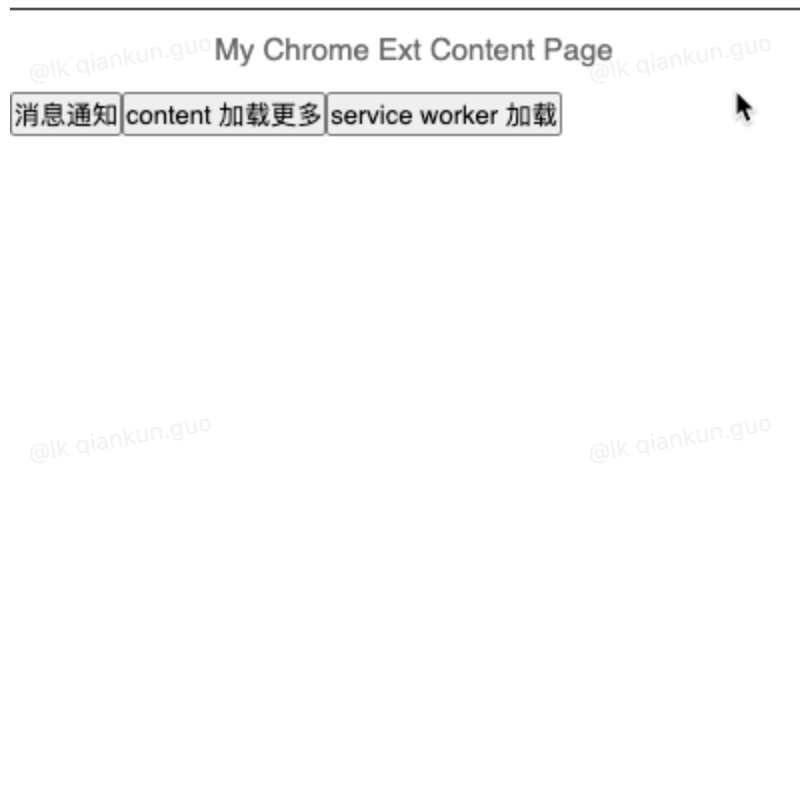
}5.5. 刷新 Chrome 插件,并刷新匹配的页面
可以看到右下角有个 content 页面
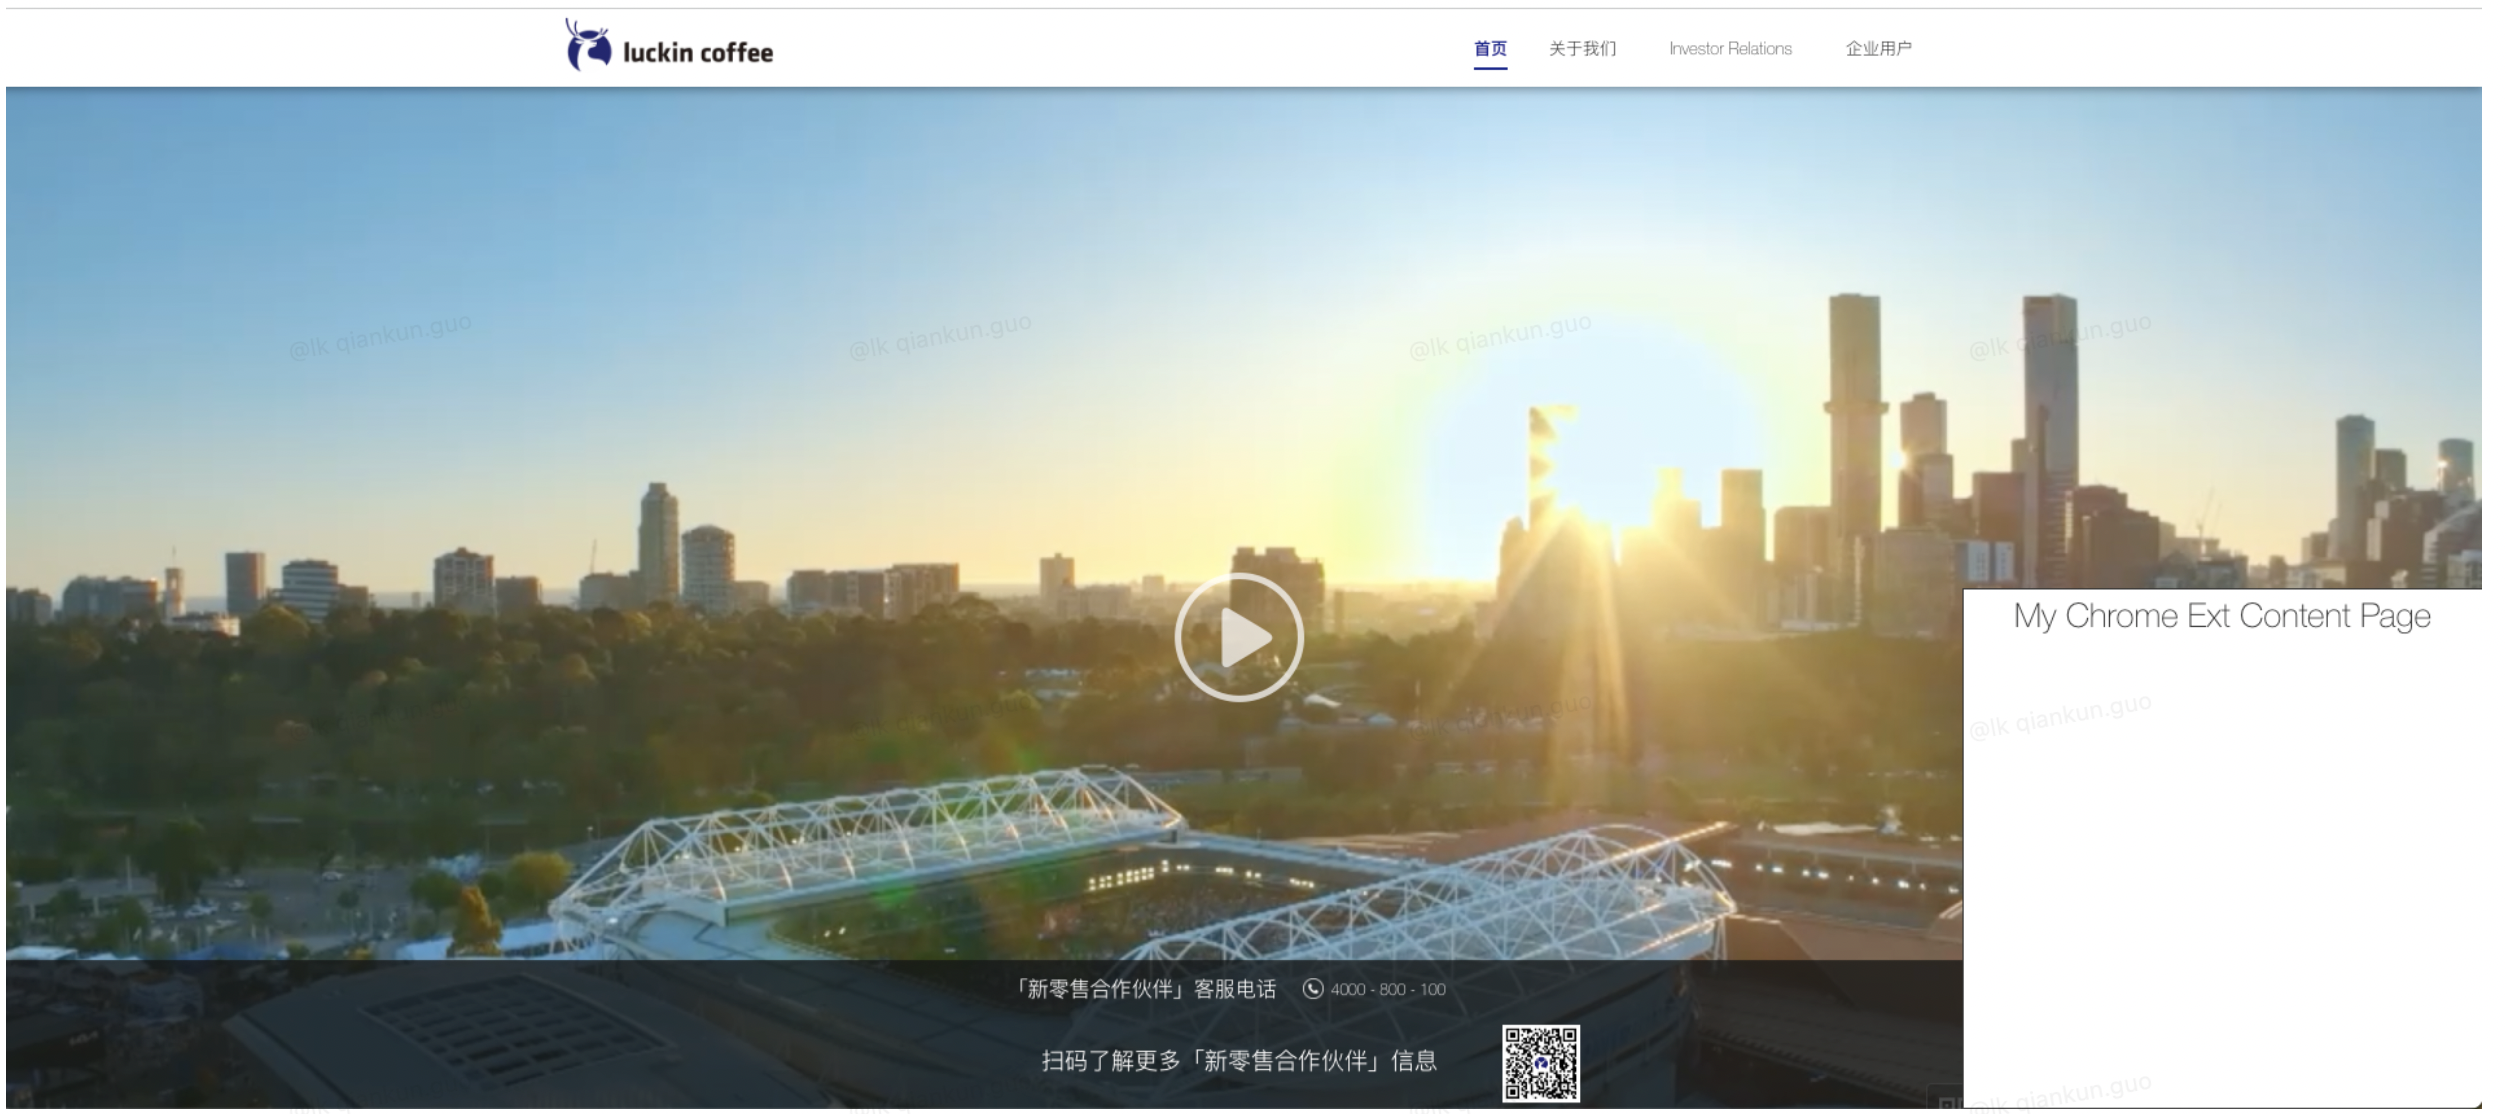
到这一步我们已经可以注入自己想要的东西了
6. Content 和 background(Service Worker)通信
如果我想在 content 中点击按钮来触发消息通知要怎么做呢?
6.1. 在刚才的面板页面加一个 button,再加一个 click 事件
先打印下 Chrome 数据,看看有啥
//创建页面函数
function createPage () {
  const page = $('<div id="cj_move_page"></div>')
  const h3 = $('<h3 id="cj_move_h3">My Chrome Ext Content Page</h3>')
  const but1 = $('<button id="cj_but1">消息通知</button>')
  page.append(h3)
  page.append(but1)
  $('body').append(page)
  $('#cj_but1').click(async (e) => {
    console.log('e', e, chrome)
  })
  //拖拽
  drag(cj_move_h3)
}6.2. 刷新插件,点击 button 触发事件
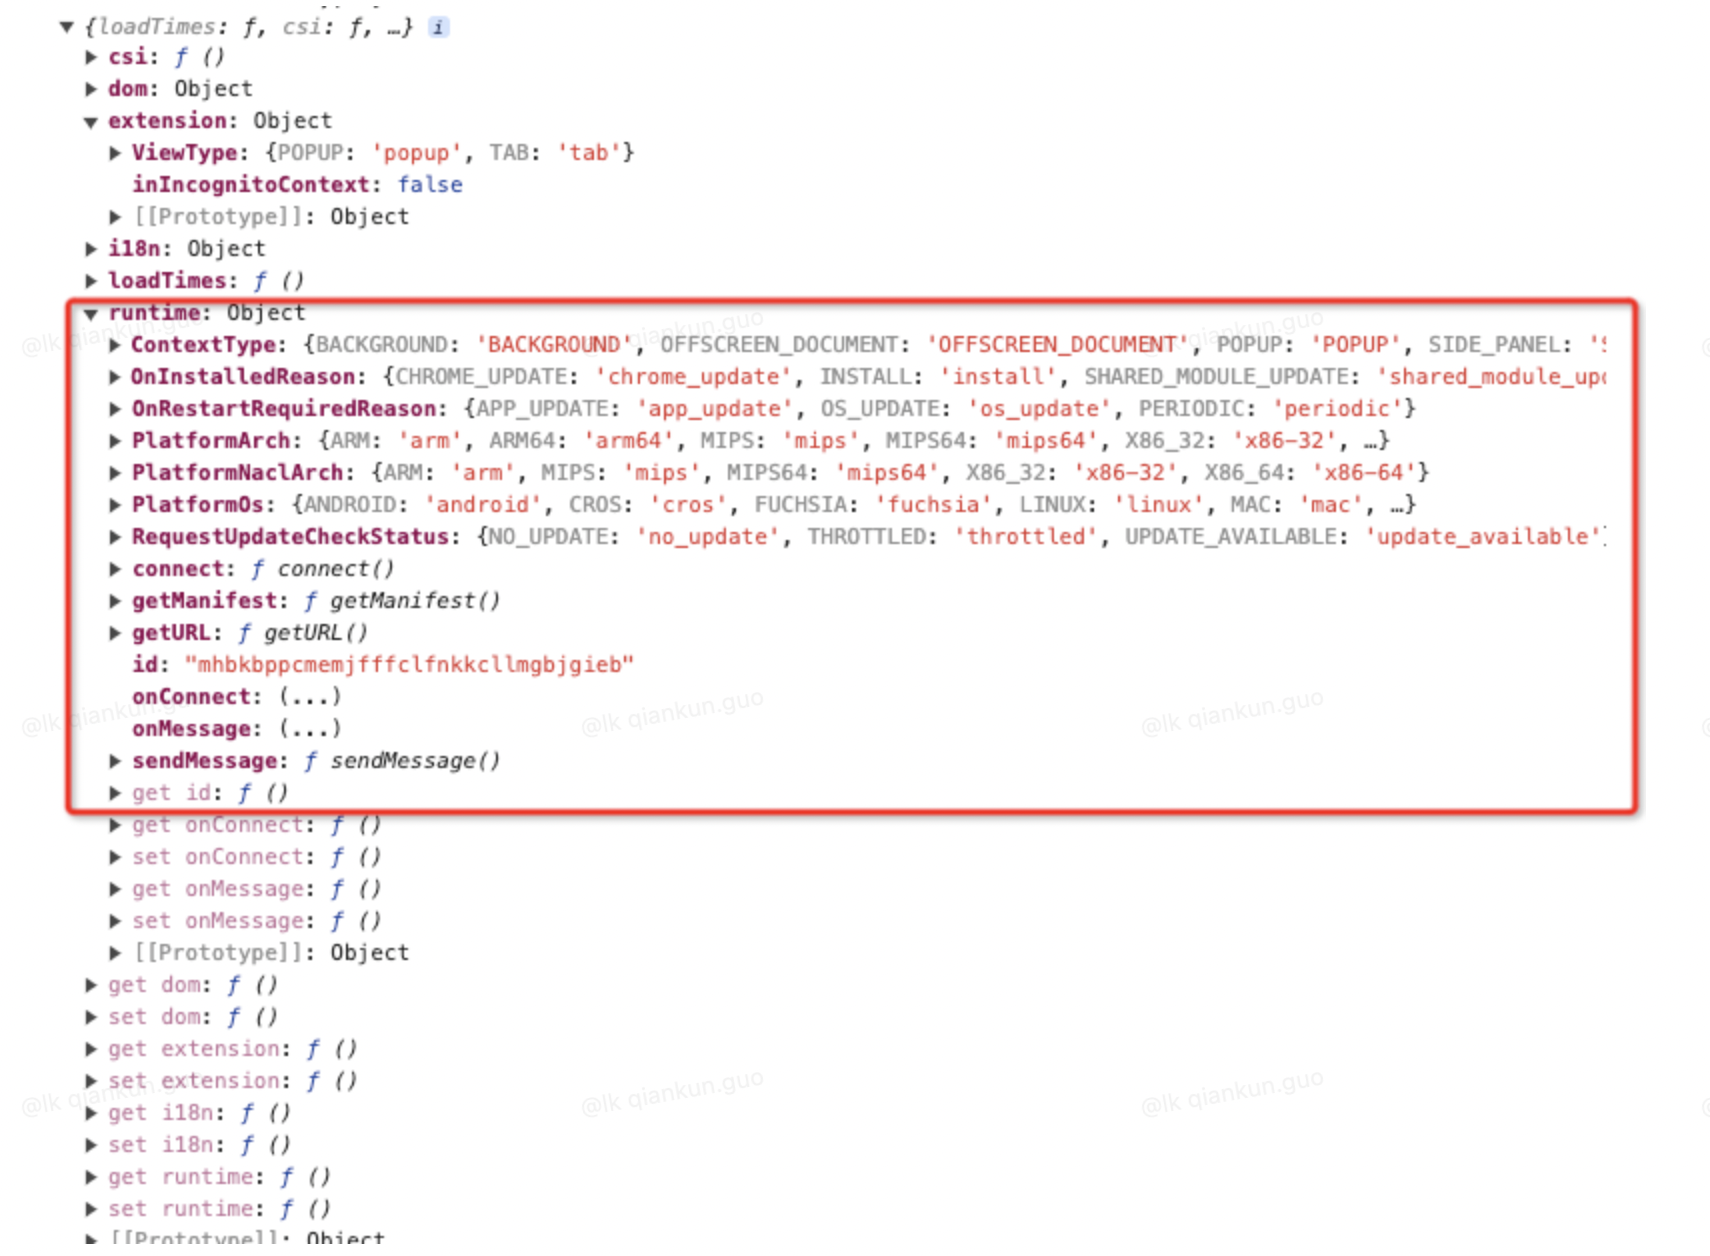
可以看到 chrome 有个 runtime,里面有 sendMessage 可以发送消息,有 onMessage 可以接收消息
6.3. 在 content_scripts 里面进行消息发送
把 click 事件改一下,加一个消息发送
$('#cj_but1').click(async (e) => {
  console.log('e', e, chrome)
  // 发送消息
  chrome.runtime.sendMessage({action: "fromContent"});
})6.4. Service_worker.js 里面进行消息接收
和上面 action 和 service-worker 的通信一样,在一个 if 判断就行
if (message.action === 'fromContent') {
  chrome.notifications.create(
    {
      type: "basic",
      title: "Notifications Title",
      message: "Notifications message to display",
      iconUrl: "../icons/icon.png"
    },
    (notificationId) => {
      console.log('notificationId-->', notificationId)
    }
  );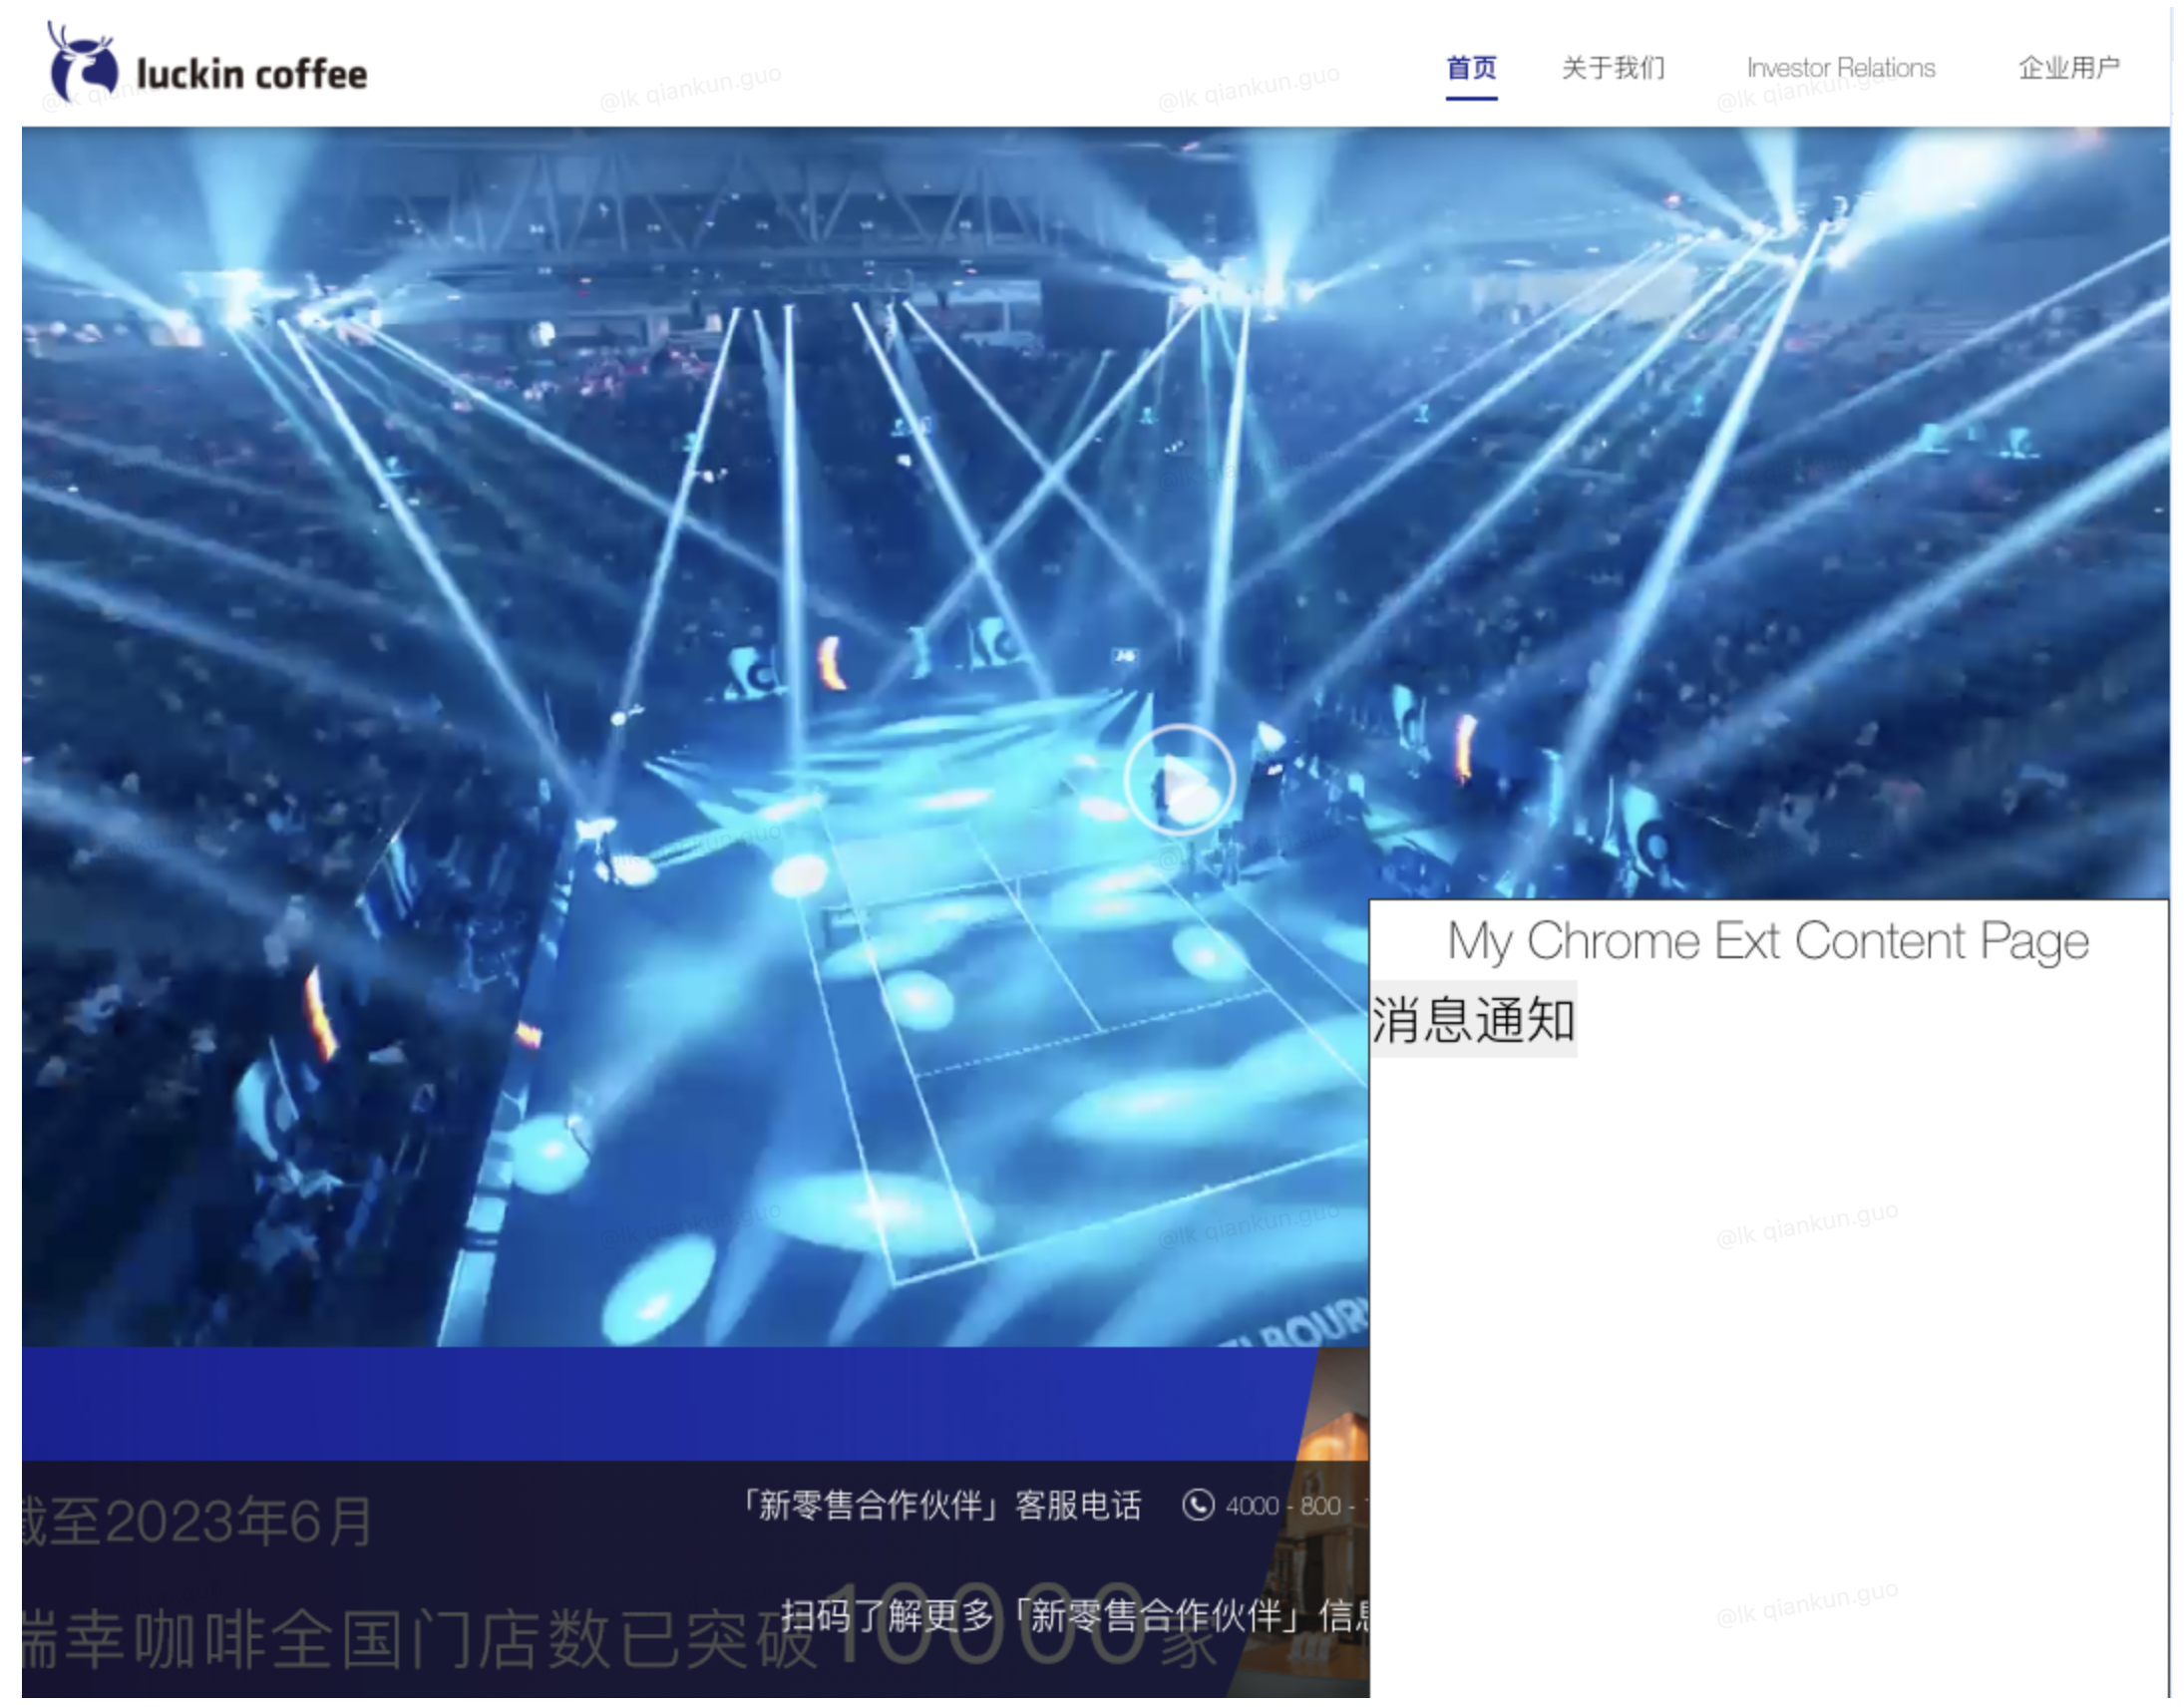
}6.5. 刷新插件
刷新插件,点击按钮,查看消息通知
7. Action(popup)和 content 通信
因为 content 是注入页面的脚本,所以和 content 通信,需要获取当前 tab 就需要权限(permissions)
7.1. 添加 tab 权限(permissions)
添加权限的方式有两种
- permissions 中添加 tabs
"permissions": [
  "notifications",
  "tabs"
],- 另一种是在主机权限(host_permissions)添加匹配的域名
"host_permissions": [
  "https://movie.douban.com/"
]推荐使用第二种,这种符合权限最小化
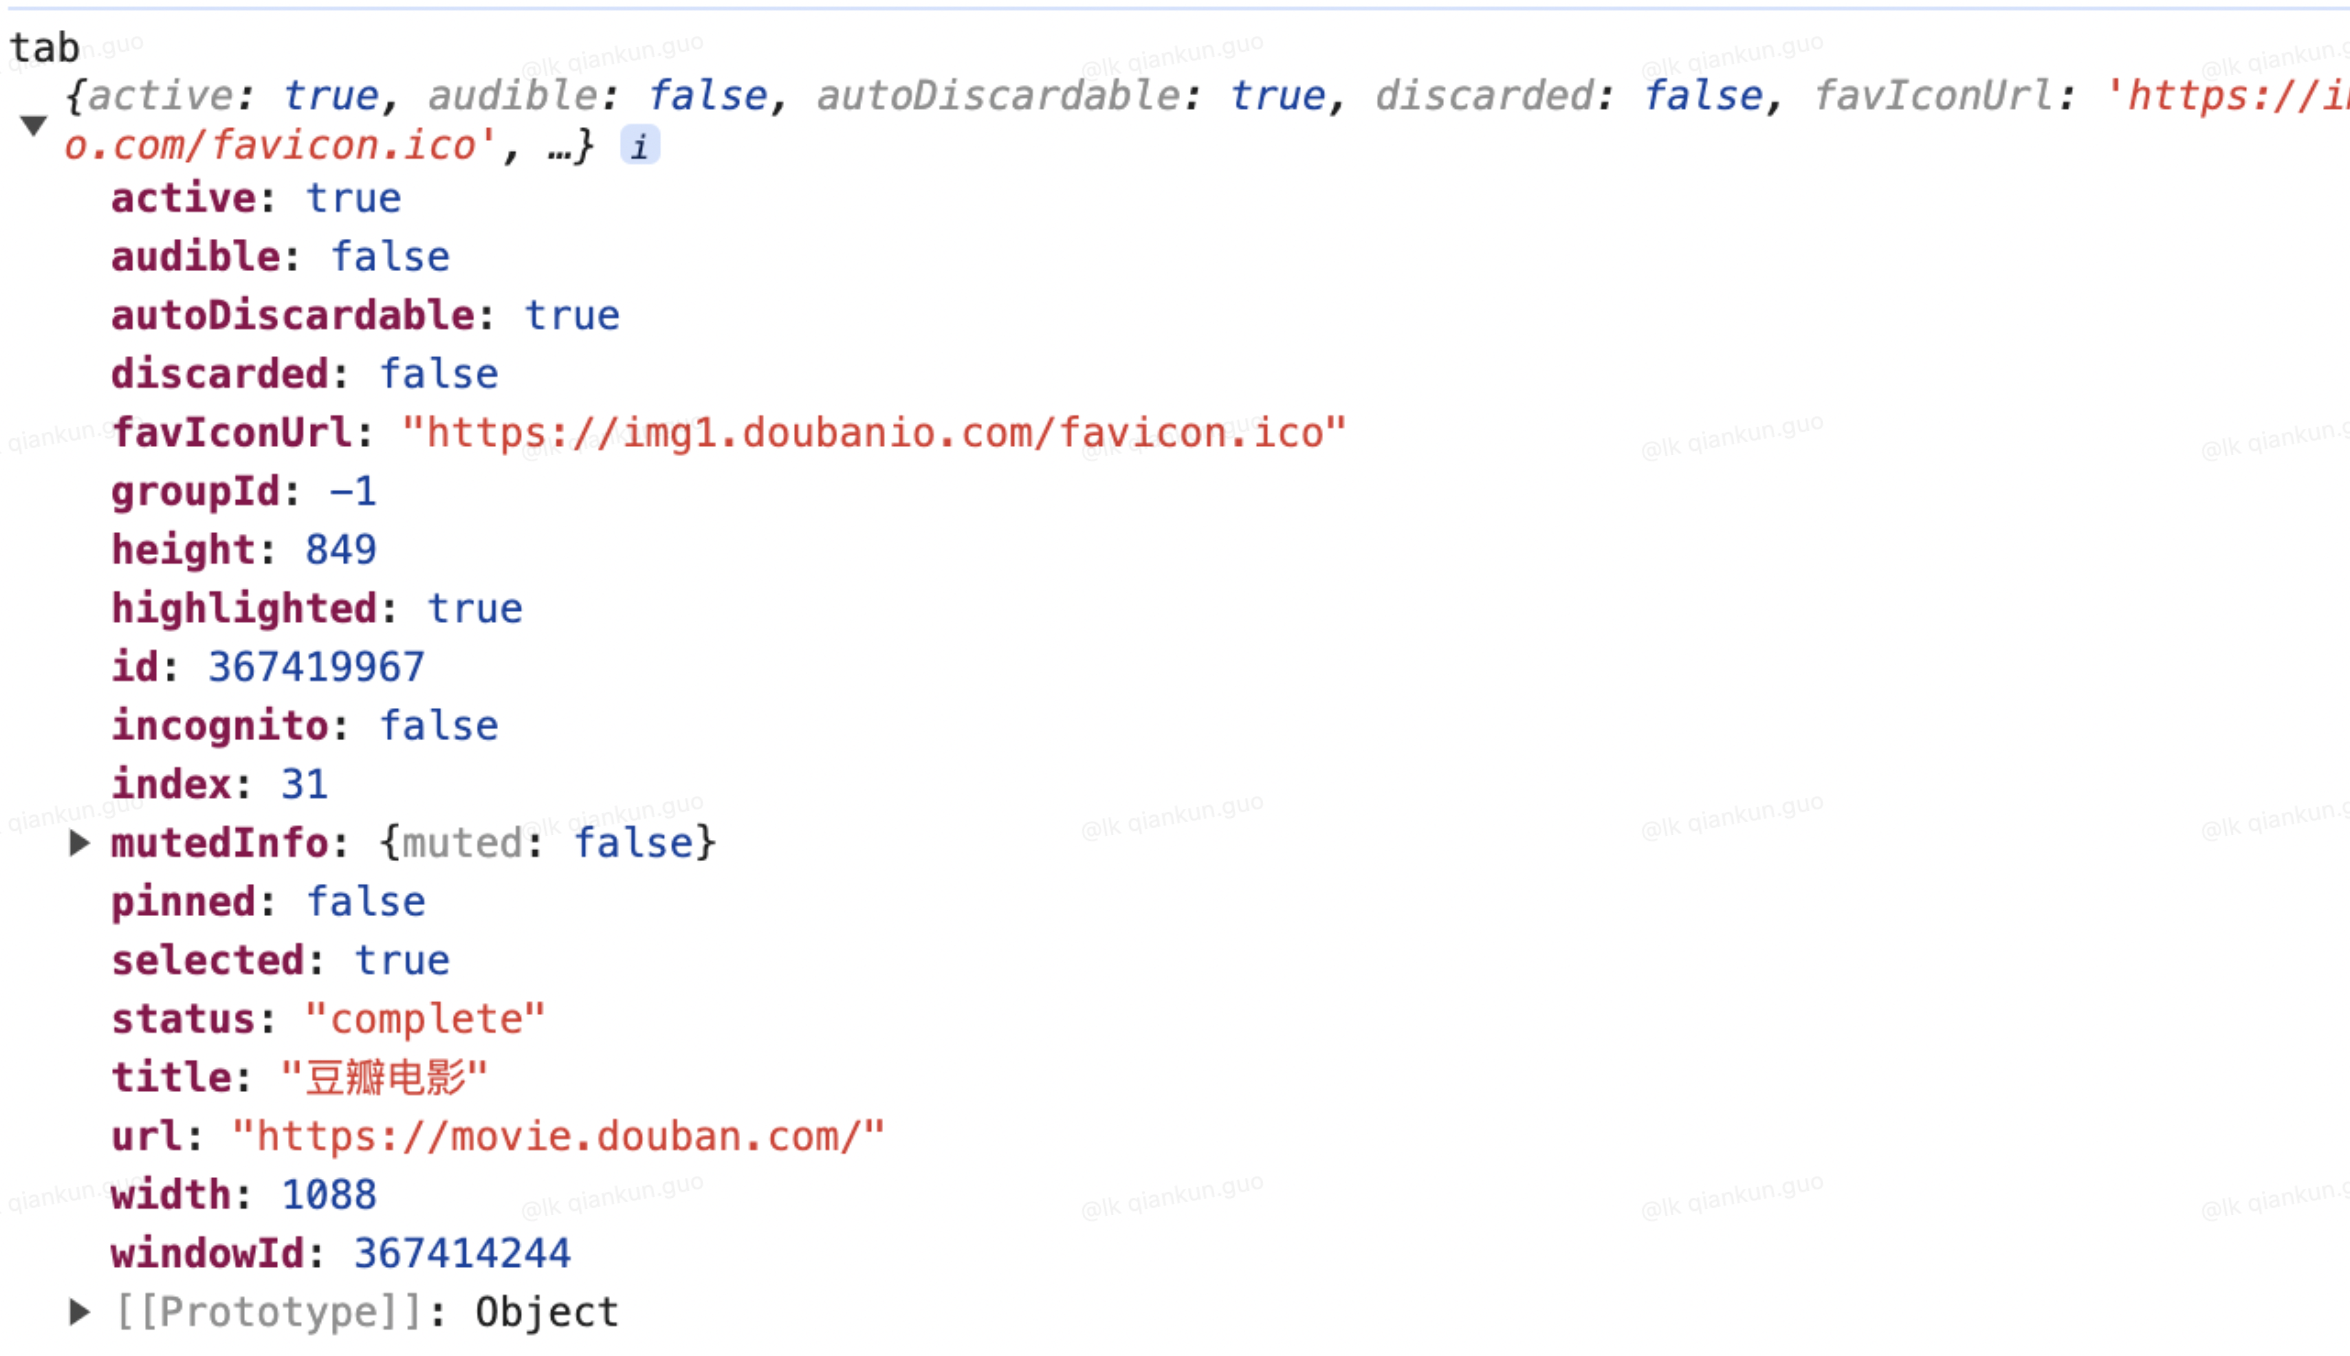
7.2. 获取 tab 数据
需要在 popup js 中获取 tab 数据
const [tab] = await chrome.tabs.query({
  url: ["https://movie.douban.com/*"],
  active: true,
  currentWindow: true
});
console.log('tab', tab)tab 信息
7.3. popup 向 content 发送消息,content 接收消息
7.3.1. popup 中使用 chrome.tabs.sendMessage 发送消息,content 中使用 chrome.runtime.onMessage.addListener 接收消息
- popup 代码
const plugin_search_but = document.getElementById('plugin_search_but')
const plugin_search_inp = document.getElementById('plugin_search_inp')
plugin_search_but.onclick = async function () {
  // alert
  // alert('plugin_search_inp的值为:' + plugin_search_inp.value.trim())
  // console.log('chrome', chrome)
  // 向 Service Worker 发送消息
  // chrome.runtime.sendMessage({
  //   action: 'fromPopup',
  //   message: 'Hello from Popup!'
  // });

  const [tab] = await chrome.tabs.query({
    url: ["https://movie.douban.com/*"],
    active: true,
    currentWindow: true
  });
  console.log('tab', tab)
  if (tab) {
    // 使用 chrome.tabs.sendMessage 发送消息
    chrome.tabs.sendMessage(tab.id, {
      action: 'fromPopup2Content'
    })
  }
}- content 监听代码
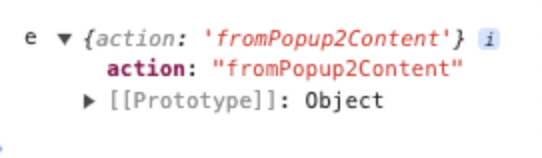
chrome.runtime.onMessage.addListener((e) => {
  console.log('e', e)
})- 刷新插件,刷新页面,打开控制台,点击图标,弹出 popup,点击翻译按钮
7.3.2. popup 中使用 chrome.tabs.connect 发送消息,content 使用 chrome.runtime.onConnect.addListener 来接收消息
- popup 代码
if (tab) {
// 使用 chrome.tabs.sendMessage 发送消息
// chrome.tabs.sendMessage(tab.id, {
// action: 'fromPopup2Content'
// })
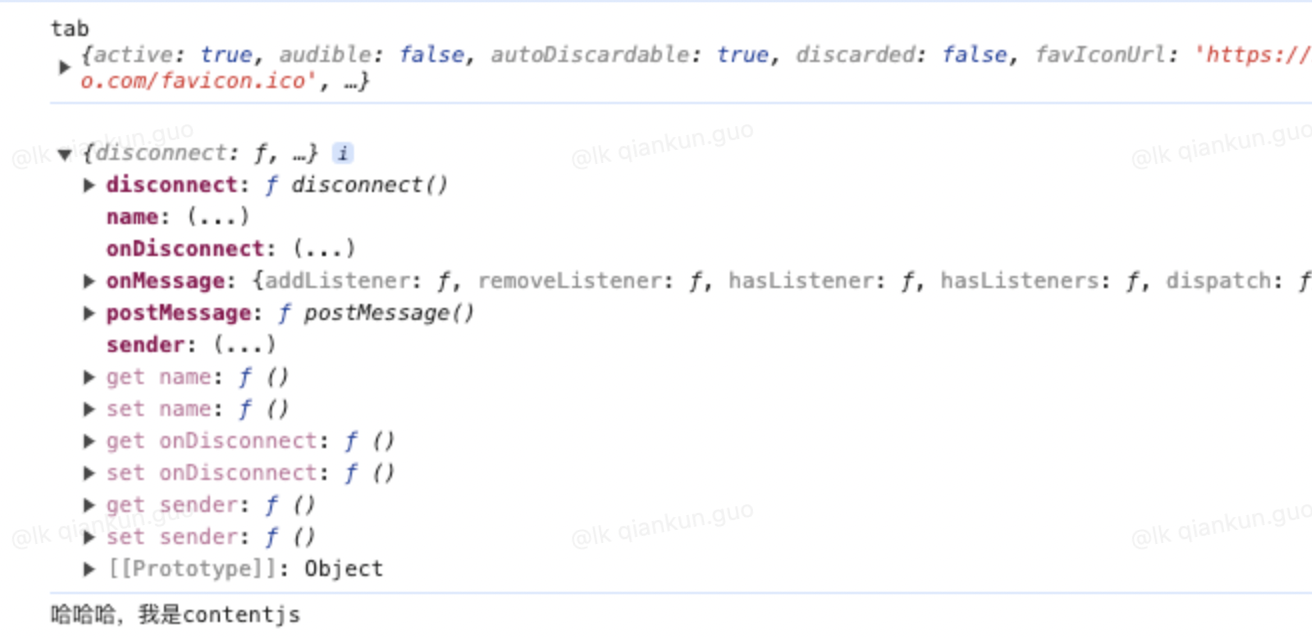
const connect = chrome.tabs.connect(tab.id, {name: 'fromPopup2Content'});
console.log('connect', connect)
connect.postMessage('这里是弹出框页面,你是谁?')
connect.onMessage.addListener((mess) => {
console.log(mess)
})
}- content 代码
// chrome.runtime.onMessage.addListener((e) => {
// console.log('e', e)
// })
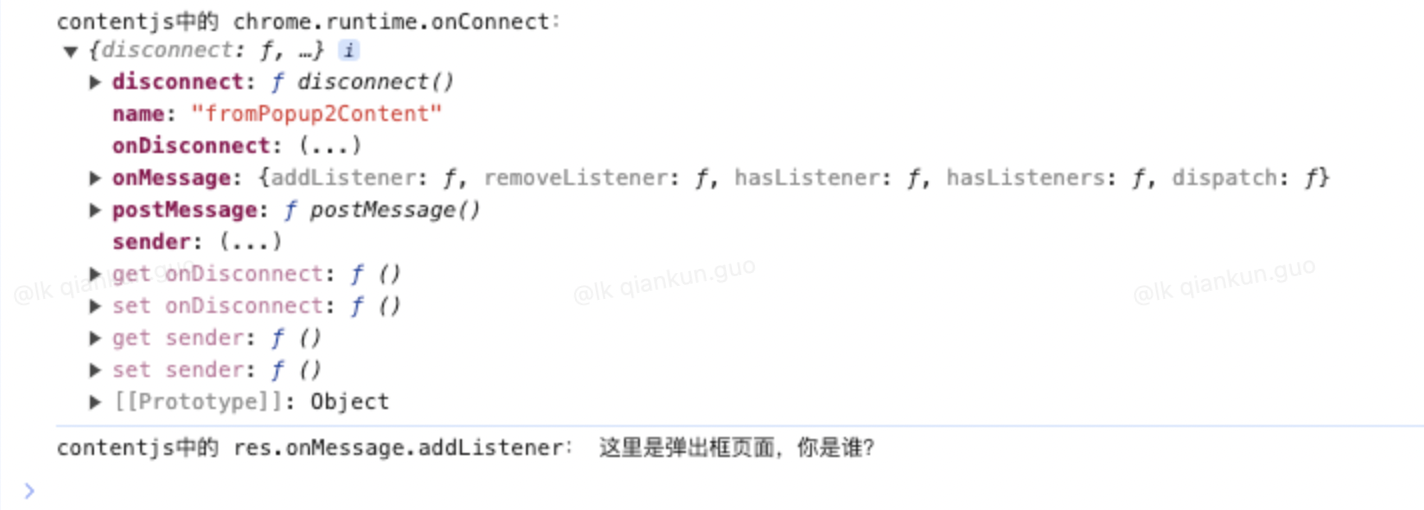
chrome.runtime.onConnect.addListener((res) => {
console.log('contentjs中的 chrome.runtime.onConnect:',res)
if (res.name === 'fromPopup2Content') {
res.onMessage.addListener(mess => {
console.log('contentjs中的 res.onMessage.addListener:', mess)
res.postMessage('哈哈哈,我是contentjs')
})
}
})- 刷新插件,刷新页面,打开控制台,点击图标,弹出 popup,点击翻译按钮
content 页面的日志
popup 页面的日志
8. Fetch 请求
V3 版本已经禁止使用 XMLHttpRequest,所有的请求走的都是 fetch
8.1. 我们现在 content_scripts 中的 matches 中加入豆瓣域名(www.douban.com)
用于获取数据
***** 通配符匹配
"content_scripts": [
  {
    "matches": ["https://lkcoffee.com/", "https://movie.douban.com/*"],
    "css": ["content/index.css"],
    "js": ["content/jquery.js", "content/index.js"]
  }
]8.2. 在刚才的 index.js 文件中加入按钮,点击的时候触发 fetch 请求
只更改了 createPage 函数,增加了 but2、but3 按钮和 click 事件
//创建页面函数
function createPage () {
const page = $('<div id="cj_move_page"></div>')
const h3 = $('<h3 id="cj_move_h3">My Chrome Ext Content Page</h3>')
const but1 = $('<button id="cj_but1">消息通知</button>')
const but2 = $('<button id="cj_but2">content 加载更多</button>')
const but3 = $('<button id="cj_but3">service worker 加载</button>')
page.append(h3)
page.append(but1)
page.append(but2)
page.append(but3)
$('body').append(page)
// 消息通知按钮事件
$('#cj_but1').click(async (e) => {
console.log('e', e, chrome)
chrome.runtime.sendMessage({action: "fromContent"});
})
// content 加载更多按钮事件
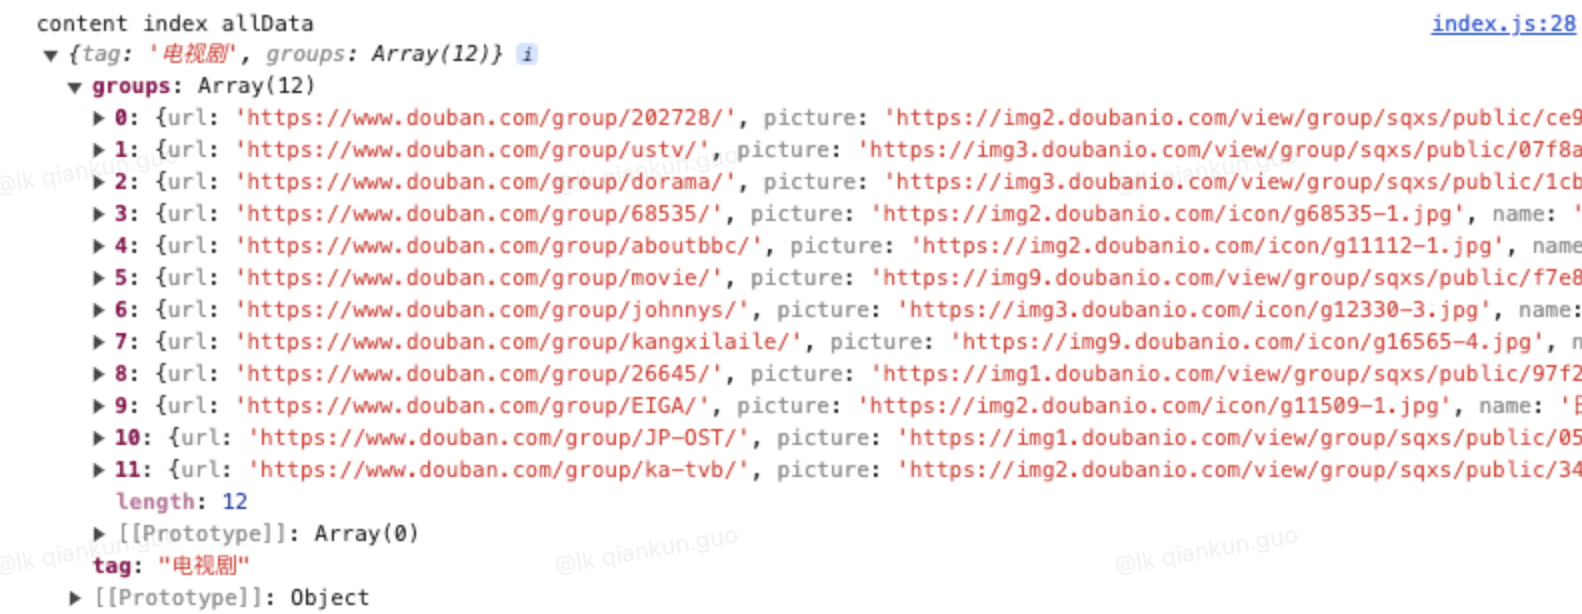
$('#cj_but2').click(async (e) => {
const response = await fetch("https://movie.douban.com/j/tv/recommend_groups")
if (!response.ok) {
throw new Error('Network response was not ok')
}
const allData = await response.json()
console.log('content index allData', allData)
})
// service worker 加载按钮事件
$('#cj_but3').click(async (e) => {
console.log('e', e, chrome)
chrome.runtime.sendMessage({action: "fromContentFetch"});
})
//拖拽
drag(cj_move_h3)
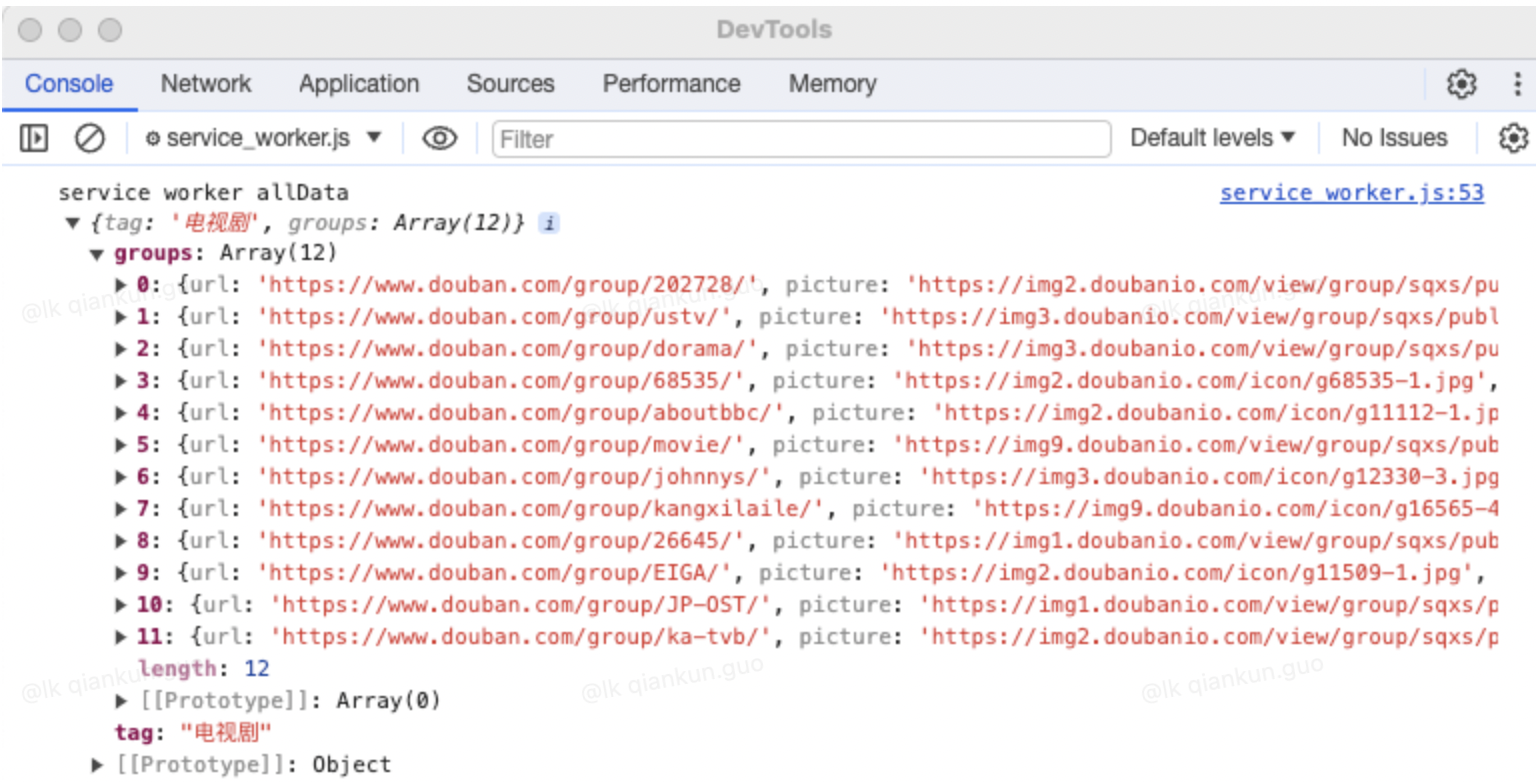
}8.3. service_worker.js 里面进行消息监听
if (message.action === 'fromContentFetch') {
  const response = await fetch("https://movie.douban.com/j/tv/recommend_groups")
  if (!response.ok) {
    throw new Error('Network response was not ok')
  }
  const allData = await response.json()
  console.log('service worker allData', allData)
}8.4. 刷新插件并刷新匹配的豆瓣域名页
8.5. 点击按钮
- 打开页面控制台,点击【content 加载更多】
- 打开 service worker 控制台,点击【service worker 加载】
到这一步,我们已经可以进行接口请求了,整体的链路已经通了
9. Cookie 获取
web 开发少不了获取 cookie
使用 chrome.cookies API 查询和修改 Cookie,并在这些 Cookie 发生更改时收到通知。
这就需要在权限(permissions)里面添加 cookies 字段以及在主机权限(host_permissions)里面添加 host
9.1. Manifest.json 文件
"host_permissions": [
  "https://*.douban.com/*",
  "https://*.lkcoffee.com/*"
],
"permissions": [
  "notifications",
  "cookies"
]9.2. Popup 页面获取 cookies
const cookies = await chrome.cookies.getAll({ domain:  '.lkcoffee.com'})
console.log('popup cookies--->', cookies)
const urlCookies = await chrome.cookies.getAll({ url: 'https://leaptest03.lkcoffee.com/' })
console.log("popup urlCookies", urlCookies);9.3. Service Worker 获取 cookies
const cookies = await chrome.cookies.getAll({ domain:  '.lkcoffee.com'})
console.log('service worker cookies--->', cookies)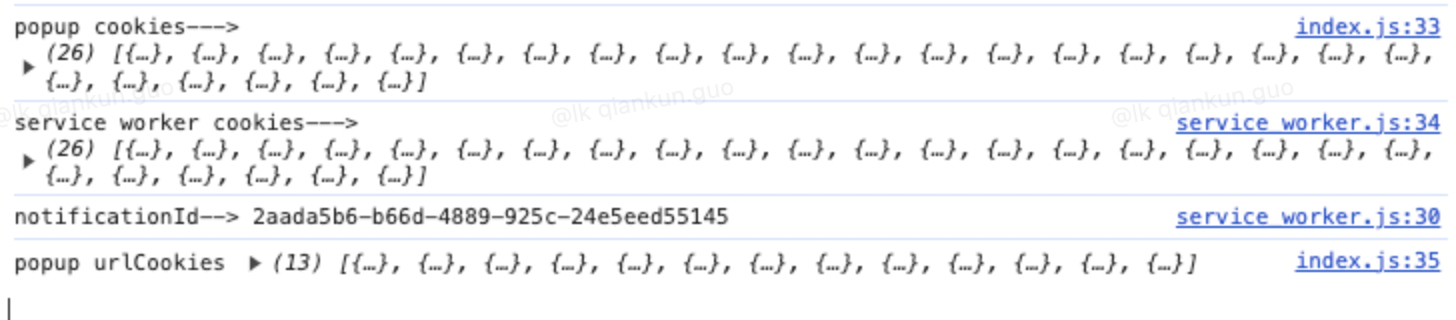
9.4. Content 获取 cookies
这个直接用 document.cookie 获取即可
二、代码目录结构
├── background
│   ├── module_1.js
│   ├── module_2.js
│   └── service_worker.js
├── content
│   ├── index.css
│   ├── index.js
│   └── jquery.js
├── icons
│   └── icon.png
├── manifest.json
└── popup
    ├── index.css
    ├── index.html
    └── index.js